bow

Party Top Tutorial.

6 piece bustier top
Hi there stitchers,
It’s been a while since my last post, but all for good reasons. I have been hard at work setting up my studio!!!! It has been quite difficult working from home; as a devout sewist you will identify with my plight; fabric everywhere, pins all over the house and the sewing equipment’s over spilling their allocated boundaries, oh and not forgetting a patient husband smiling his encouragement through gritted teeth lol. The move out of home was due and very welcomed.

Ok so Christmas is nearly here and I must warn you, I am one of those people who get very merry. I absolutely LOVE Christmas much to the annoyance of everyone around me. With this in mind (the fact that Christmas is around the corner), I decided to do a workshop for a Christmas party dress, there were a few options but the winner was the velvet wrap dress I made on the sewing bee. So before I move on to today’s tutorial, here is a quick breakdown; there are 2 dates available, one in October and one in November, the workshops are 2 days long, both days starting at 10am and finishing at 4pm for more information on what you will need and to book a place, click https://www.kazoova.com/activity/544/ Spaces are selling fast so get in there!!!

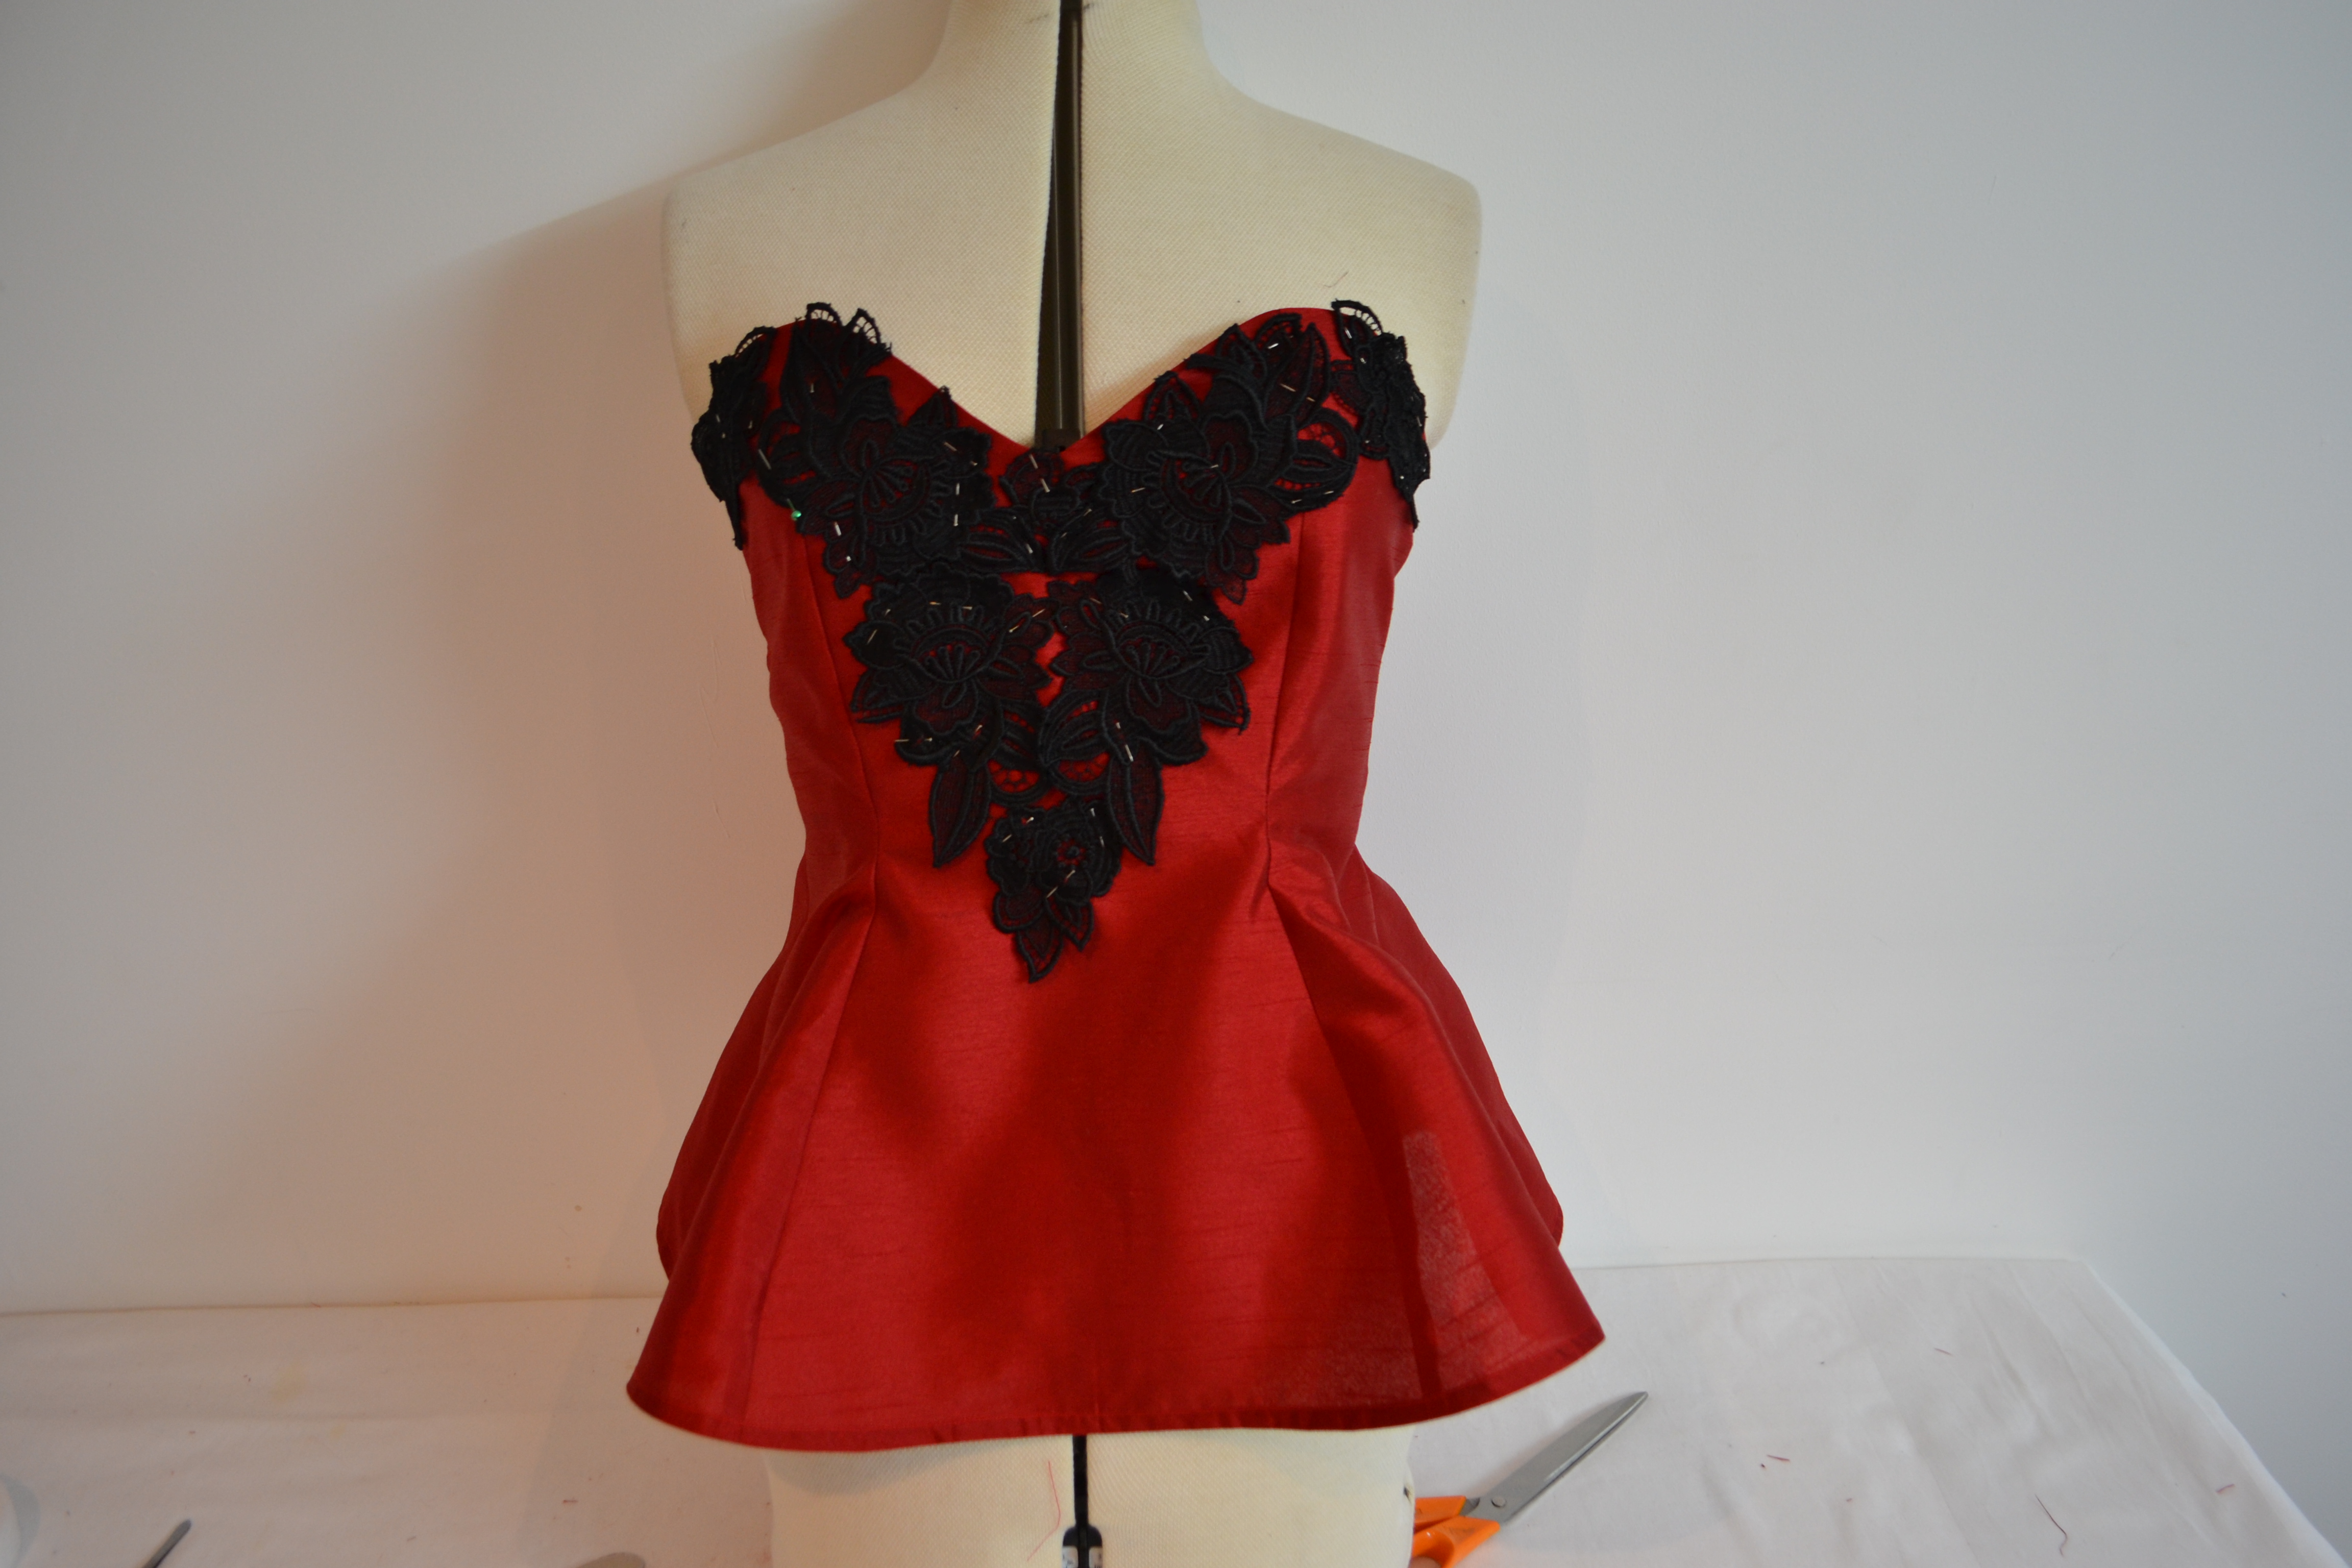
Right!! The top I’m showing you how to make today is super sexy and you can embellish it however you choose, I have gone with a black lace and red theme for added va va voom.

DSC_0124
You will need:
• Fabric (something stiff 60” by 60” wide)
• Zip
• Steam Iron
• Scissors
• Chalk
• Ruler
Measurements needed (please work in inches):
• Bust
• Underbust
• Waist
• Shoulder to Overbust
• Shoulder to Underbust
• Shoulder to Waist
• Shoulder to Hem

You will need to do some maths, label these measurements as:
• Shoulder to hem – Shoulder to underbust = Blouse length
• 9 inches – Shoulder to overbust = Bust line
• Shoulder to underbust – shoulder to overbust = Underbust line
• Shoulder to waist – shoulder to overbust = Waist line
These are all vertical measurements (our vertical measurements are used as reference marks along which we mark our horizontal measurements)
Method
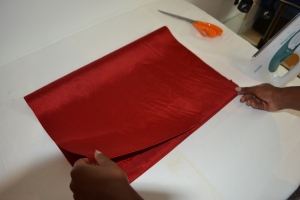
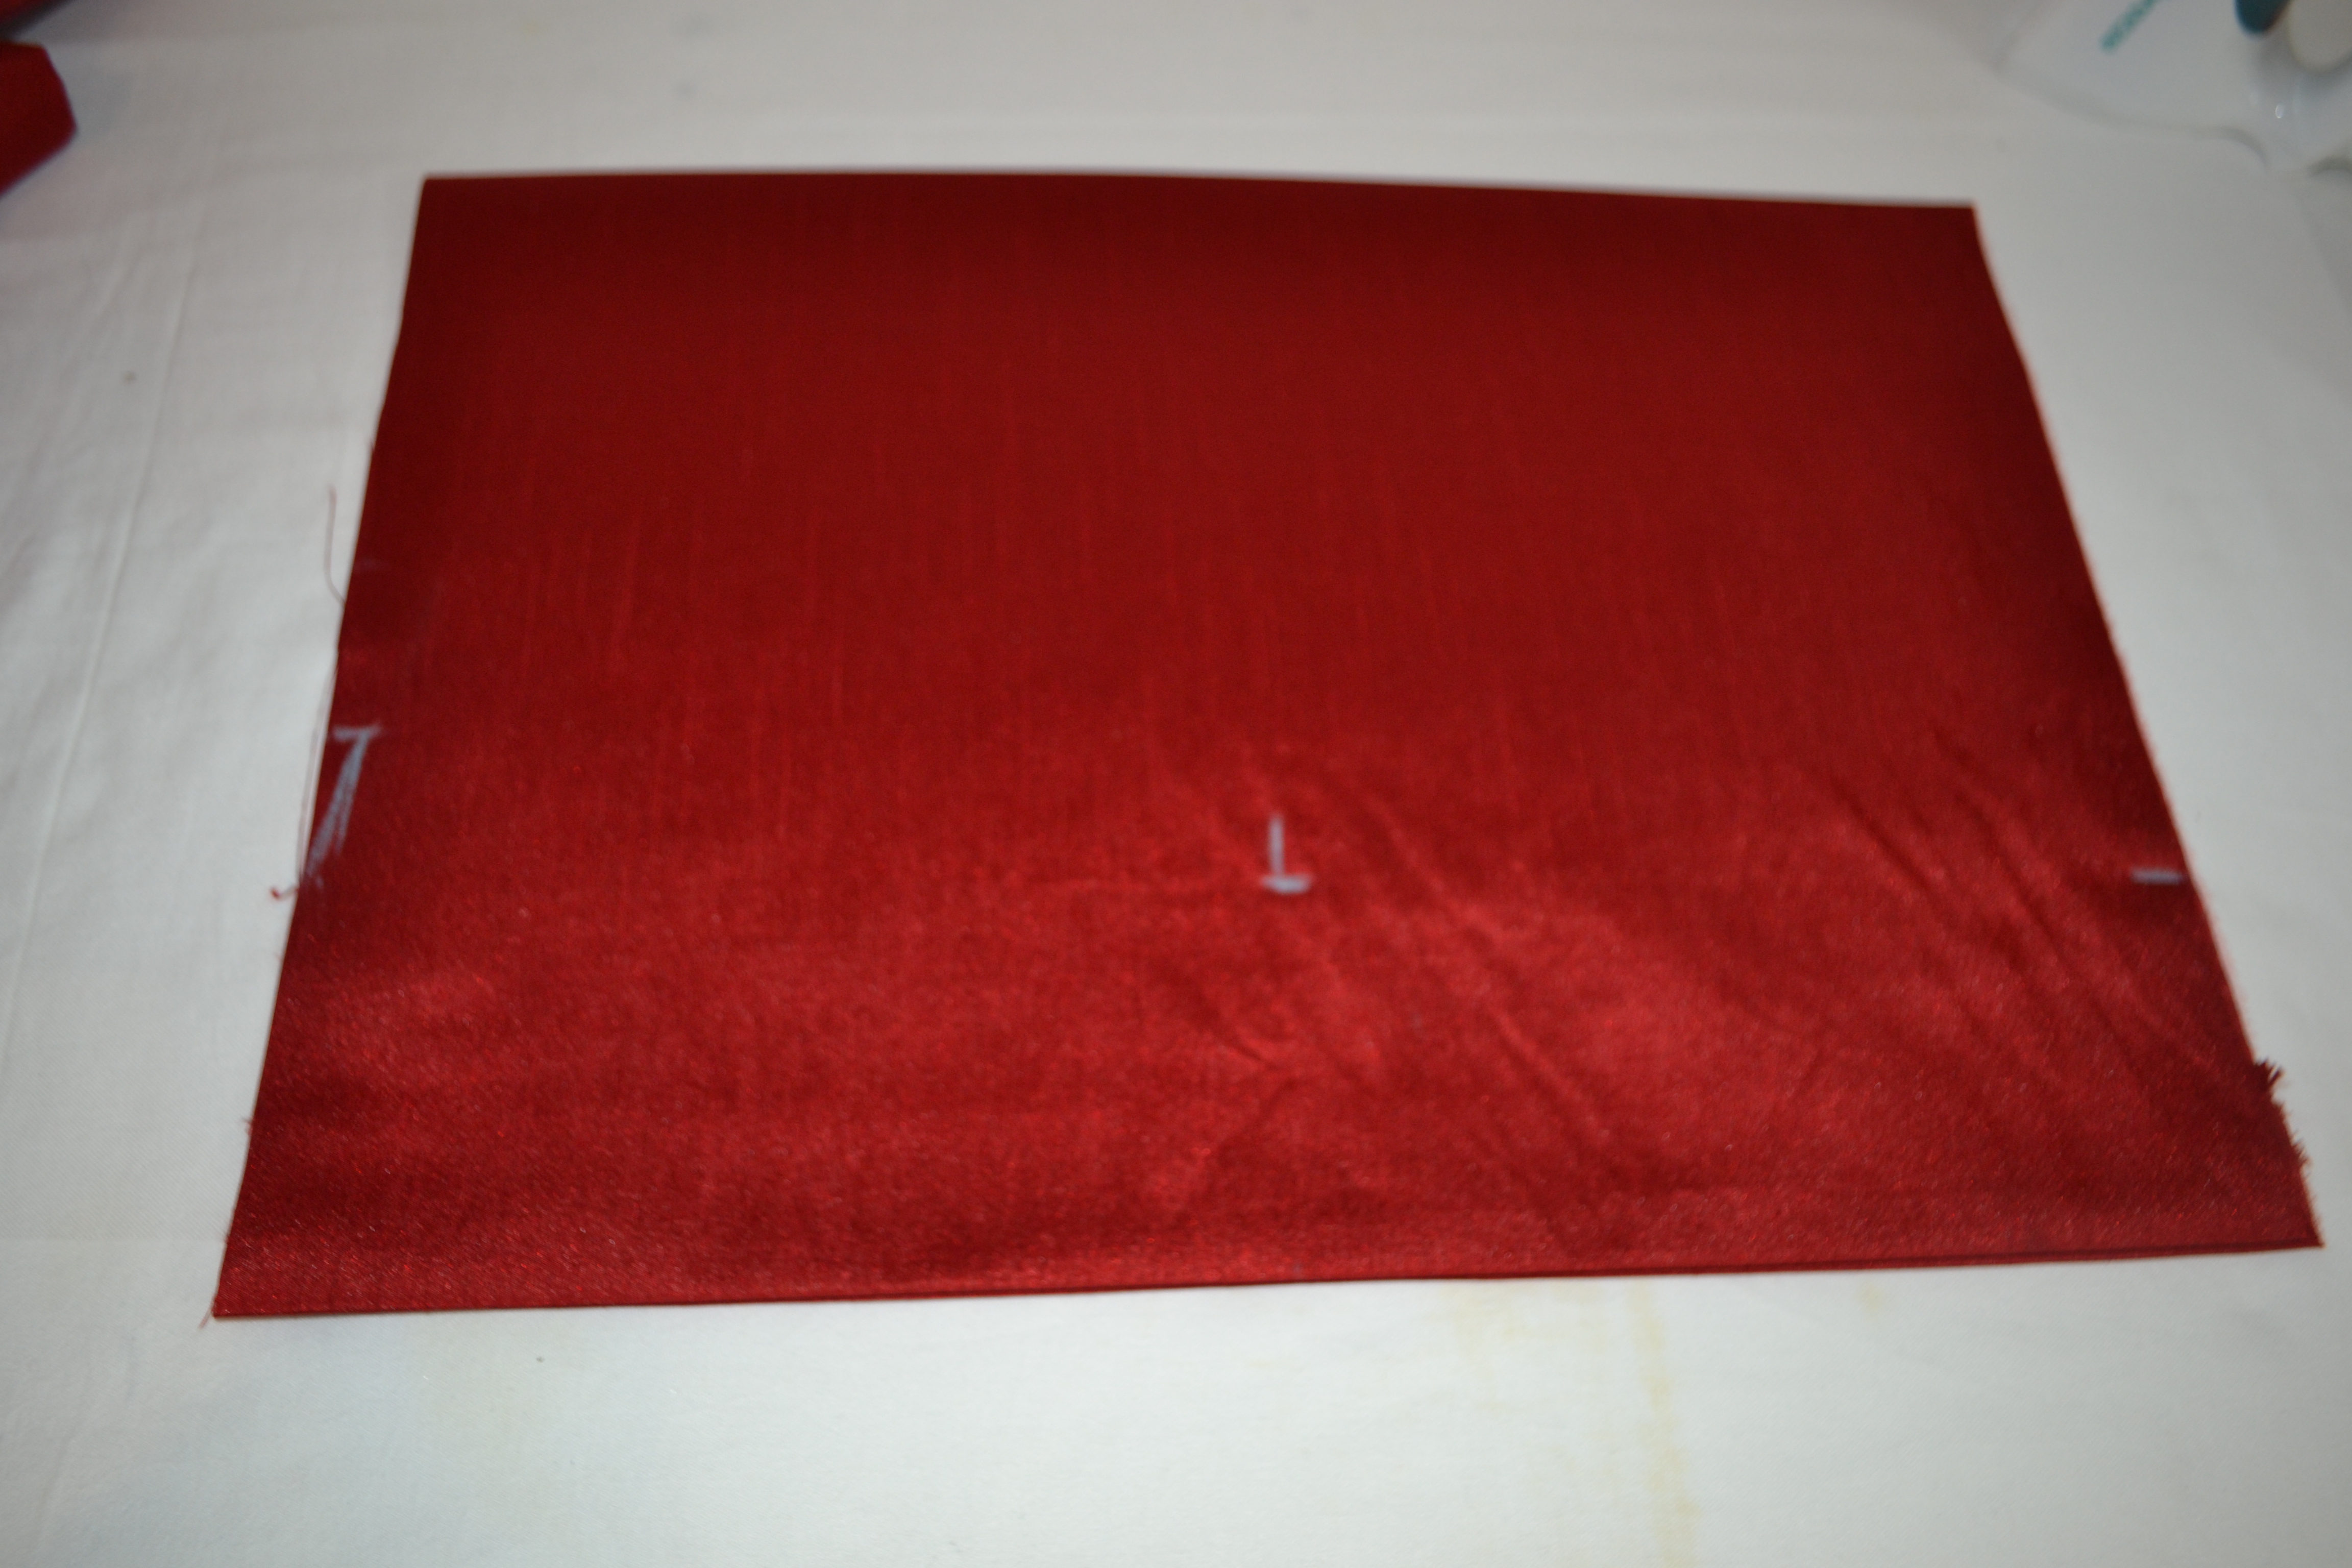
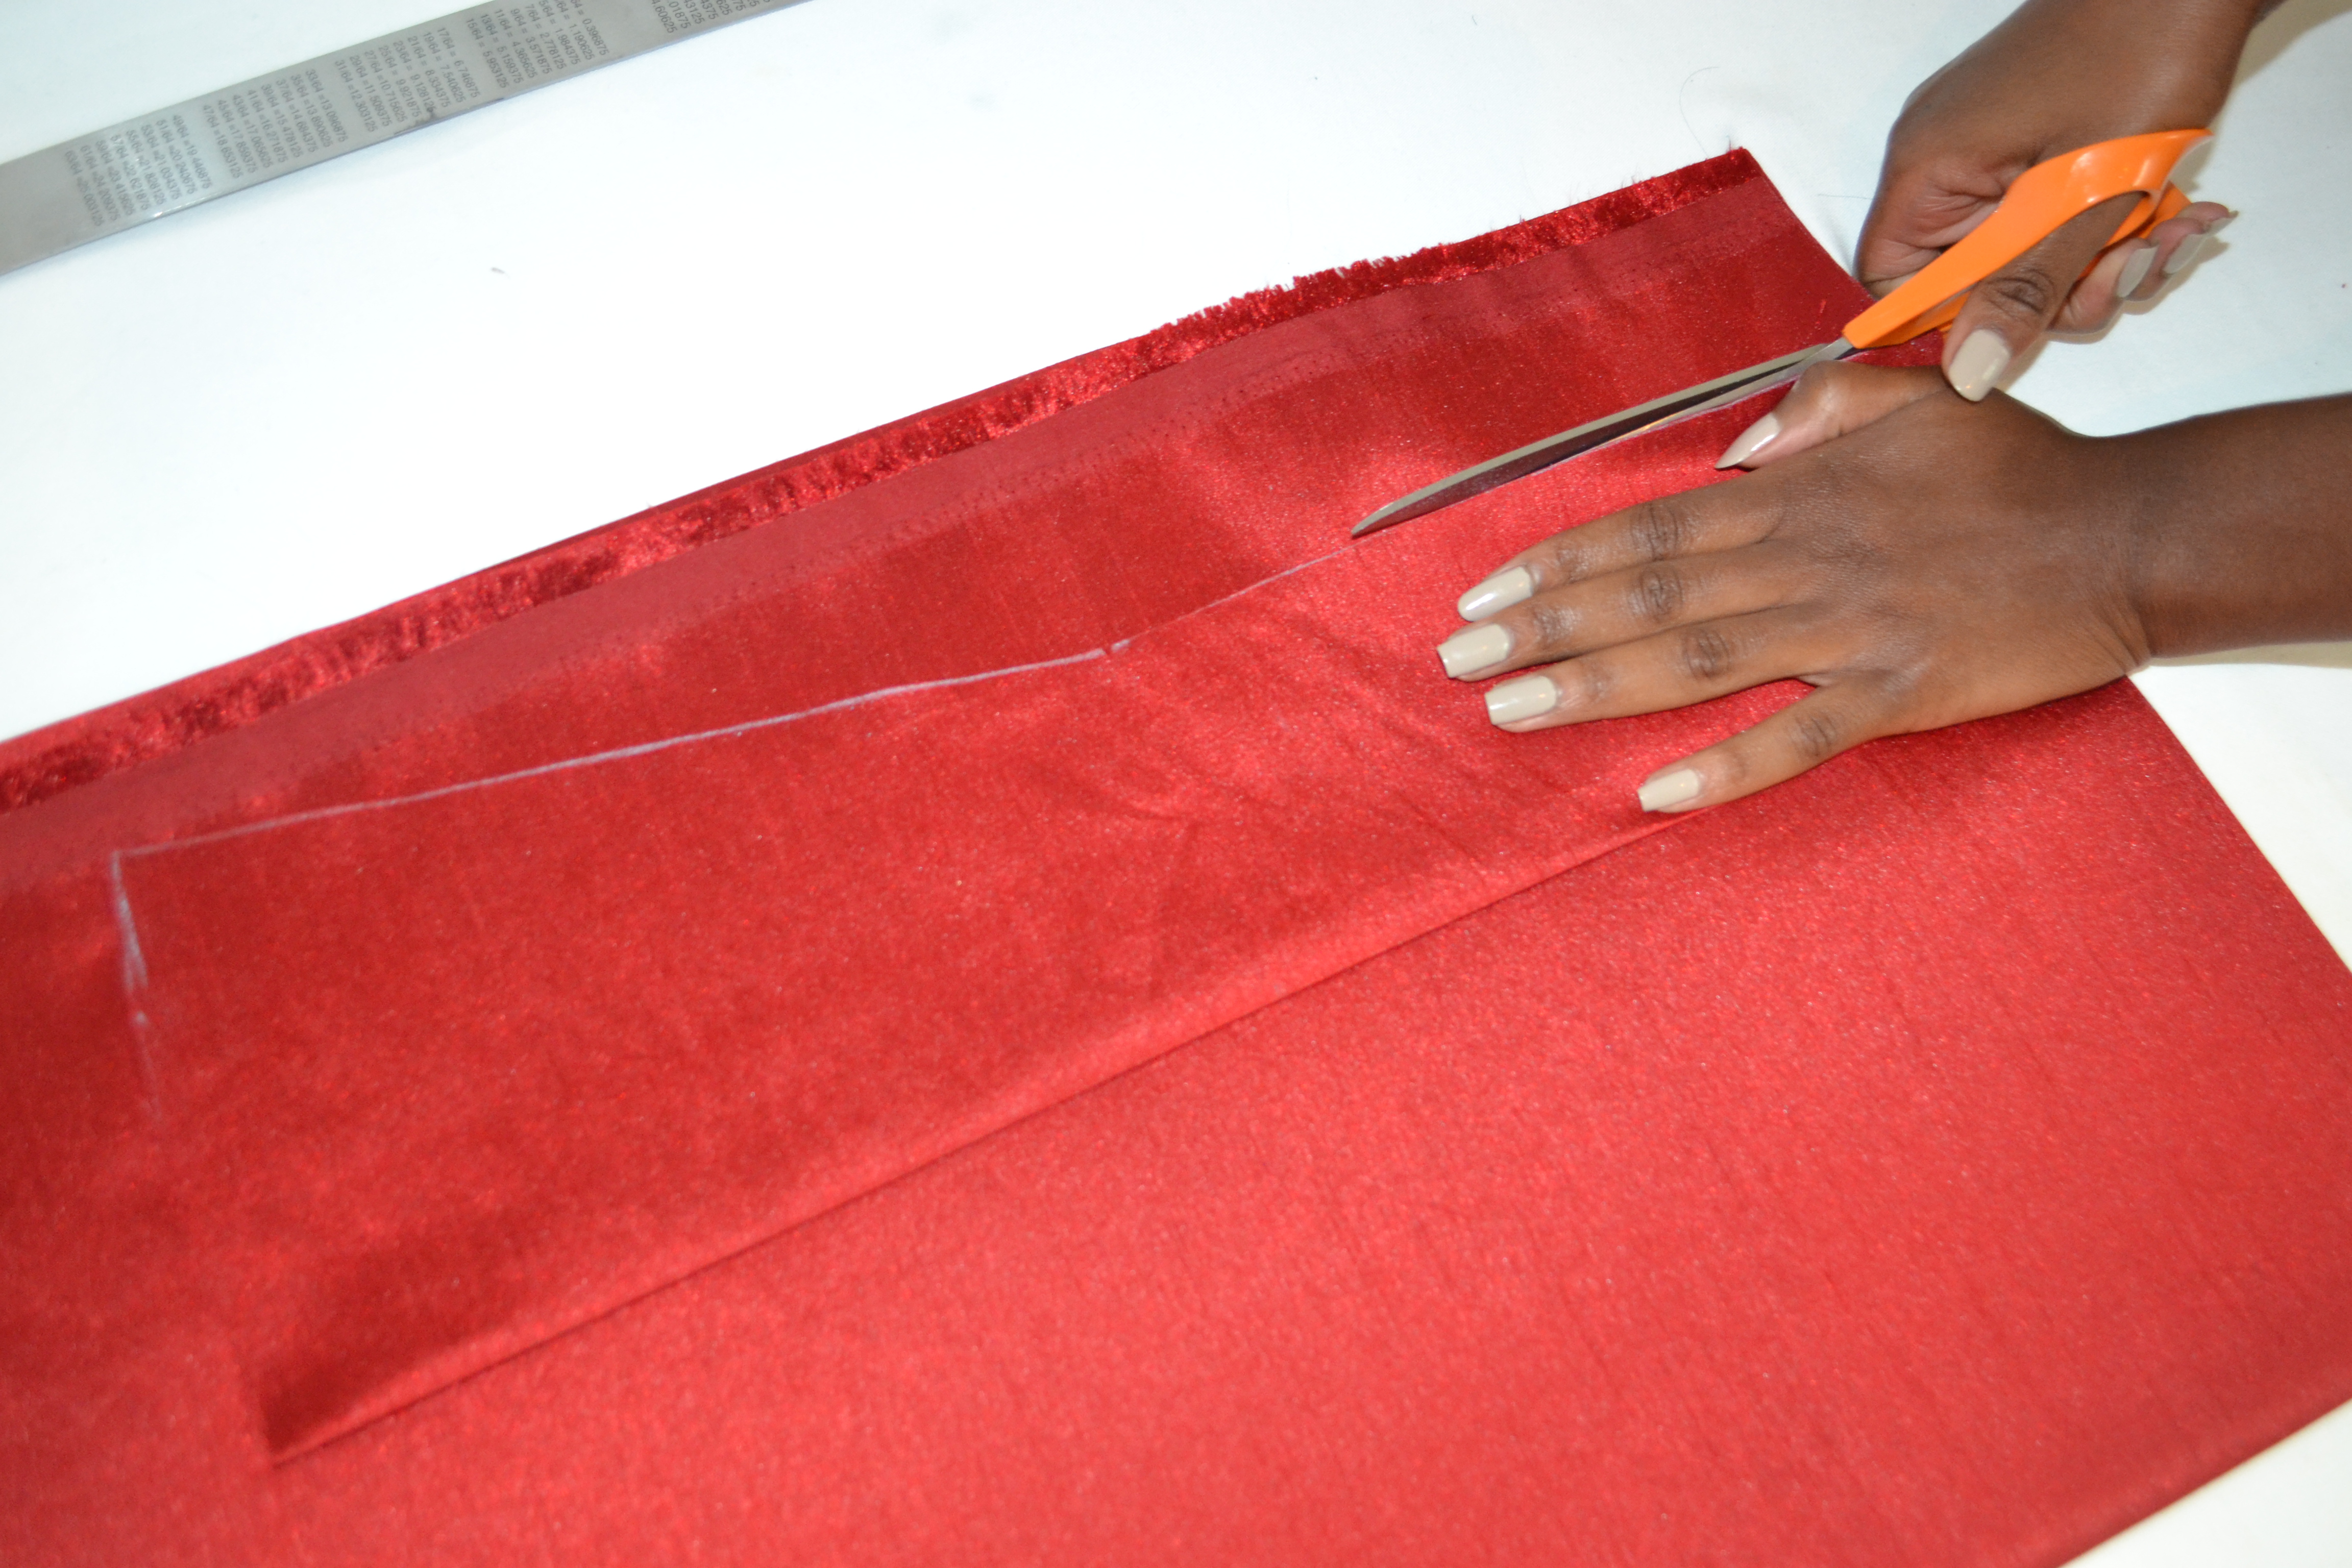
1. Fold your fabric in half, right side facing in, and press (TIP: always press after every fold). From the top edge measure and mark the blouse length+1.5”, mark in intervals to enable you to draw a straight line across the fabric, cut along this line and set the longer piece of fabric aside.

DSC_0067

Fold 1″ of the open edge in towards the folded edge and press; these two opposite ends are now your centre front and centre back, the top is your top seam and the bottom, your hem.

DSC_0070
2. Bring the centre front over to line up with the centre back and press

DSC_0071
3. From your centre front and back fold, along the top seam measure and mark 4.5”. From the top seam (working vertically) mark the waist line. From the centre front and back fold, along the waist line, mark 4”, along the hem, from the centre folds, mark 6”.

DSC_0079

Join these marks with a straight line and cut along the line

DSC_0083
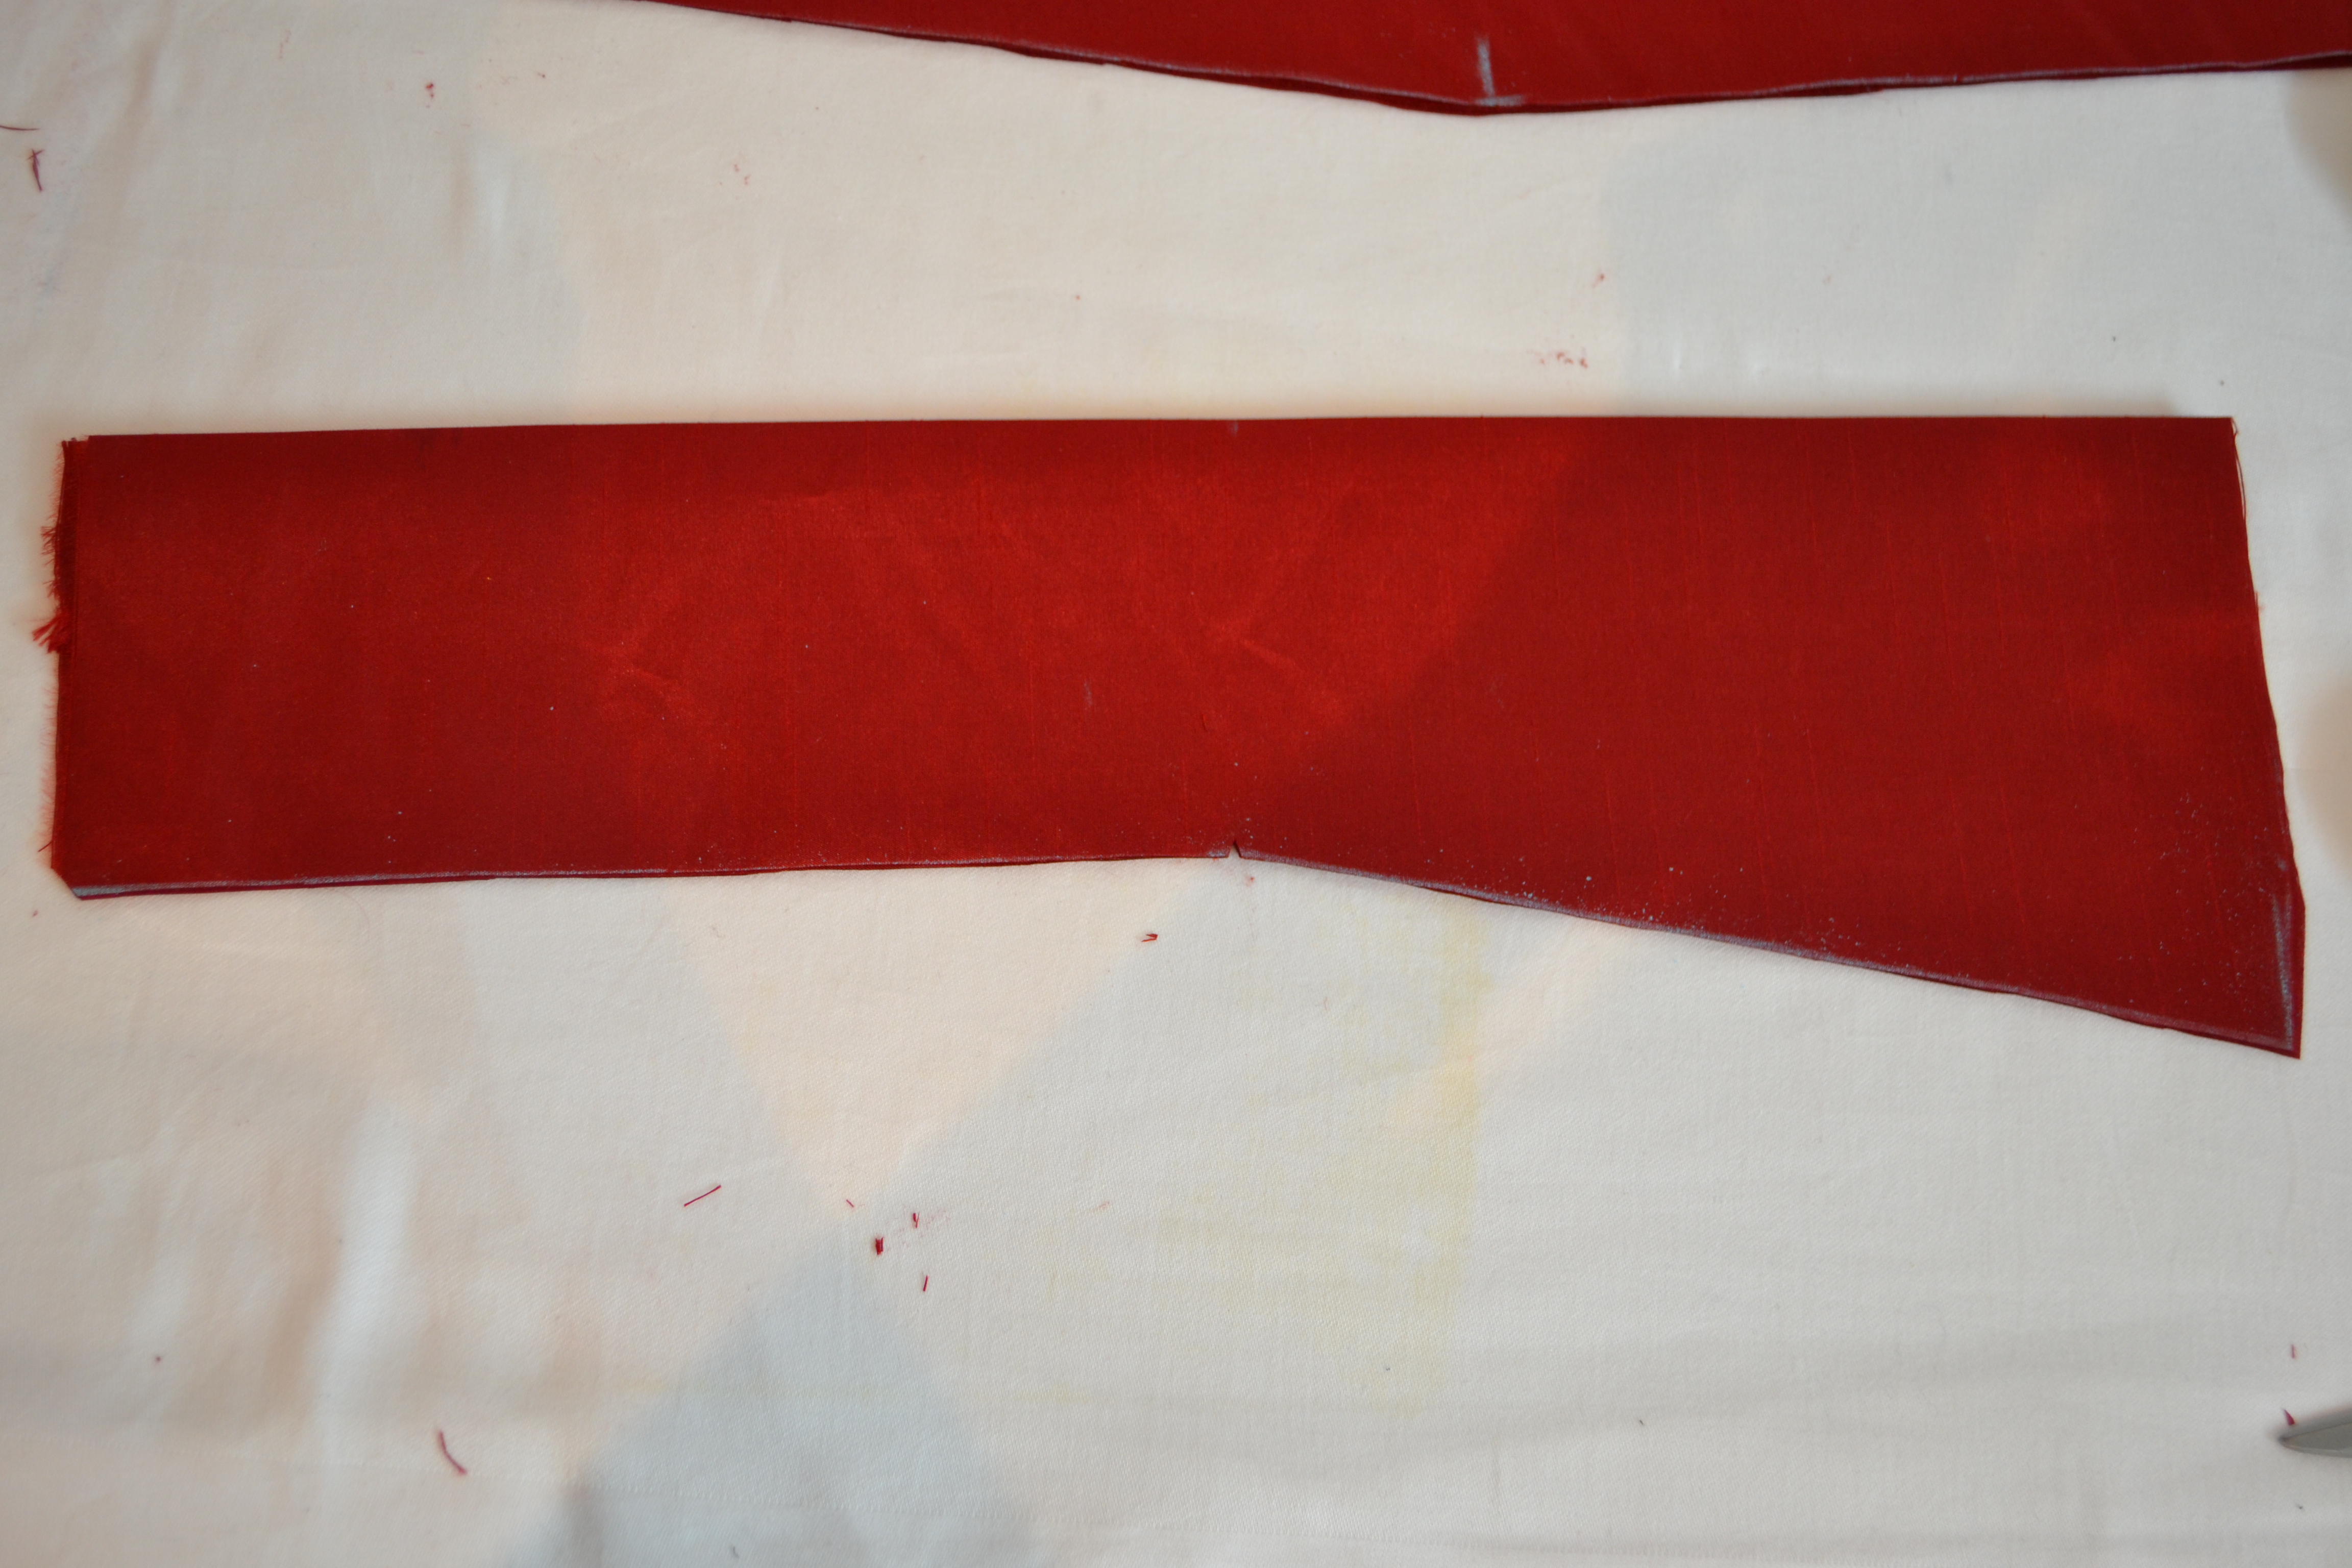
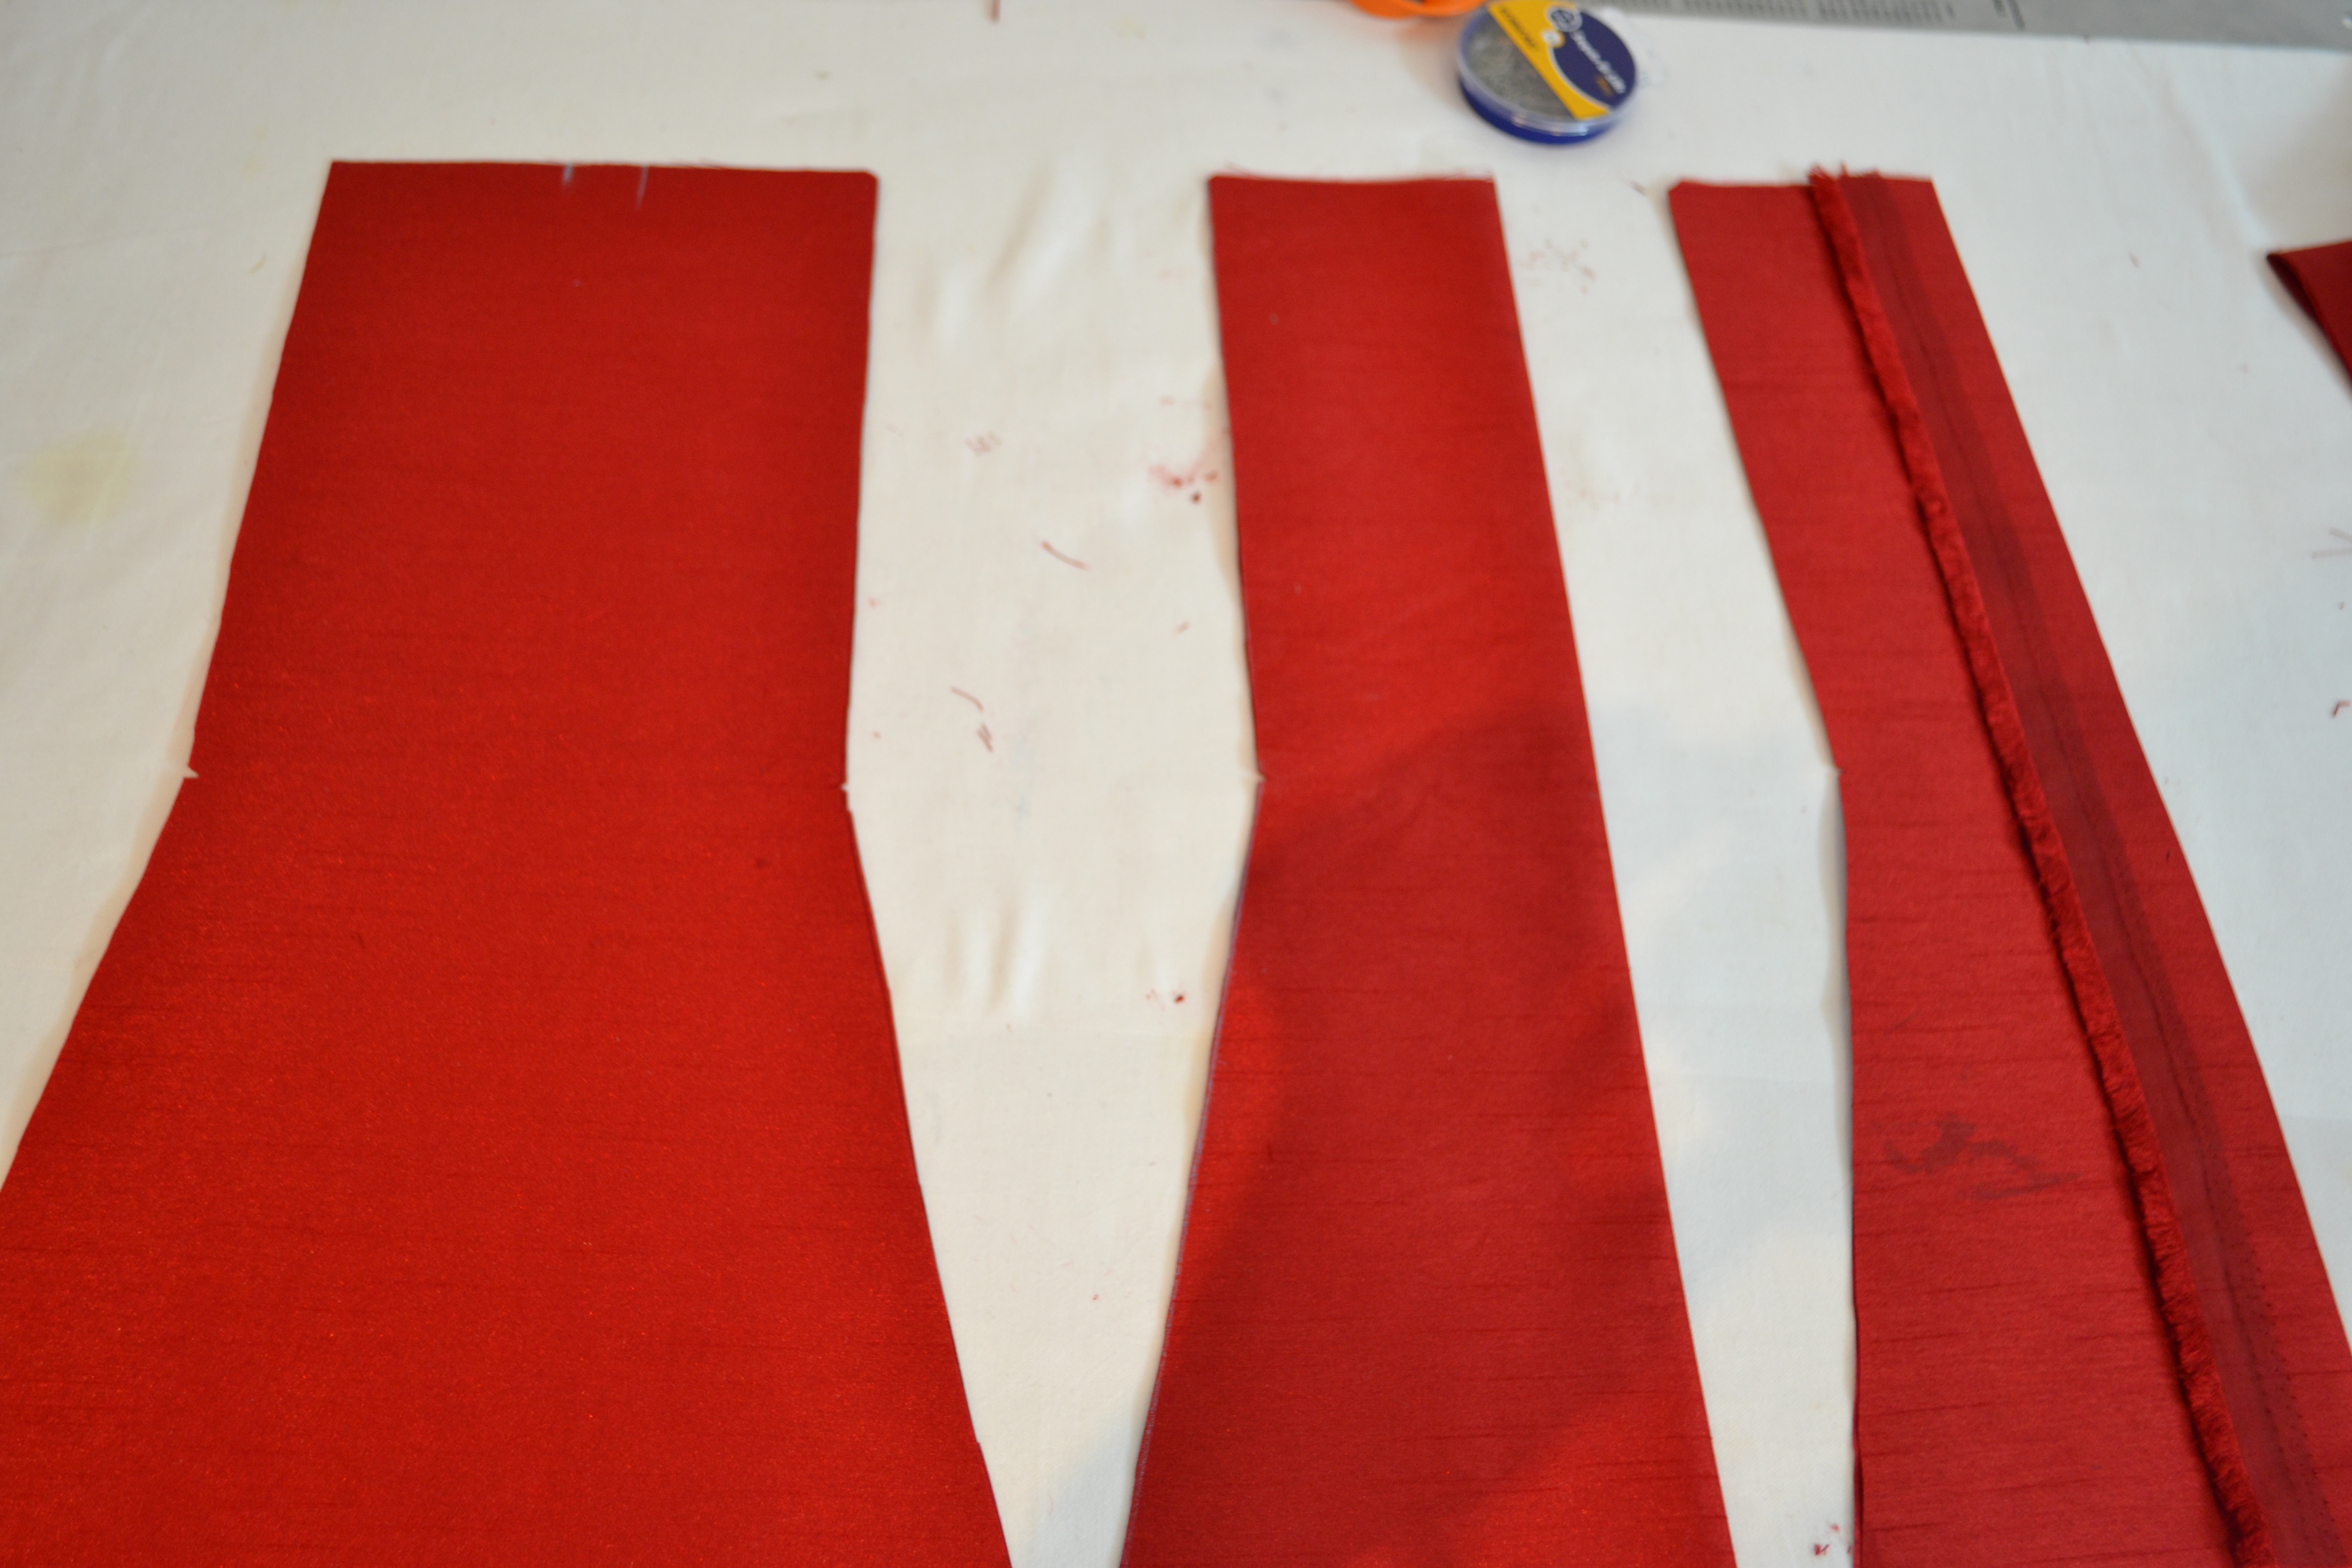
4. Take the fabric you put aside, fold it in half again so that you have four layers of fabric. You will now use your centre front panel as a template to cut out your 4 side panels. Lay your centre on the folded fabric and cut around the cut edges only.

DSC_0084

Flip the centre front panel so that it mirrors the cut you just made, pull it one inch towards the edge you just cut and cut around the cut edge again,

DSC_0088

(these 4 panels you just cut will be slightly smaller than the unfolded centre panel. It will now look like this:

DSC_0089

5. Sew one of the side panels to each side of the centre panels, press only the sewn seams (do not press out the centre front or back folds.

DSC_0091

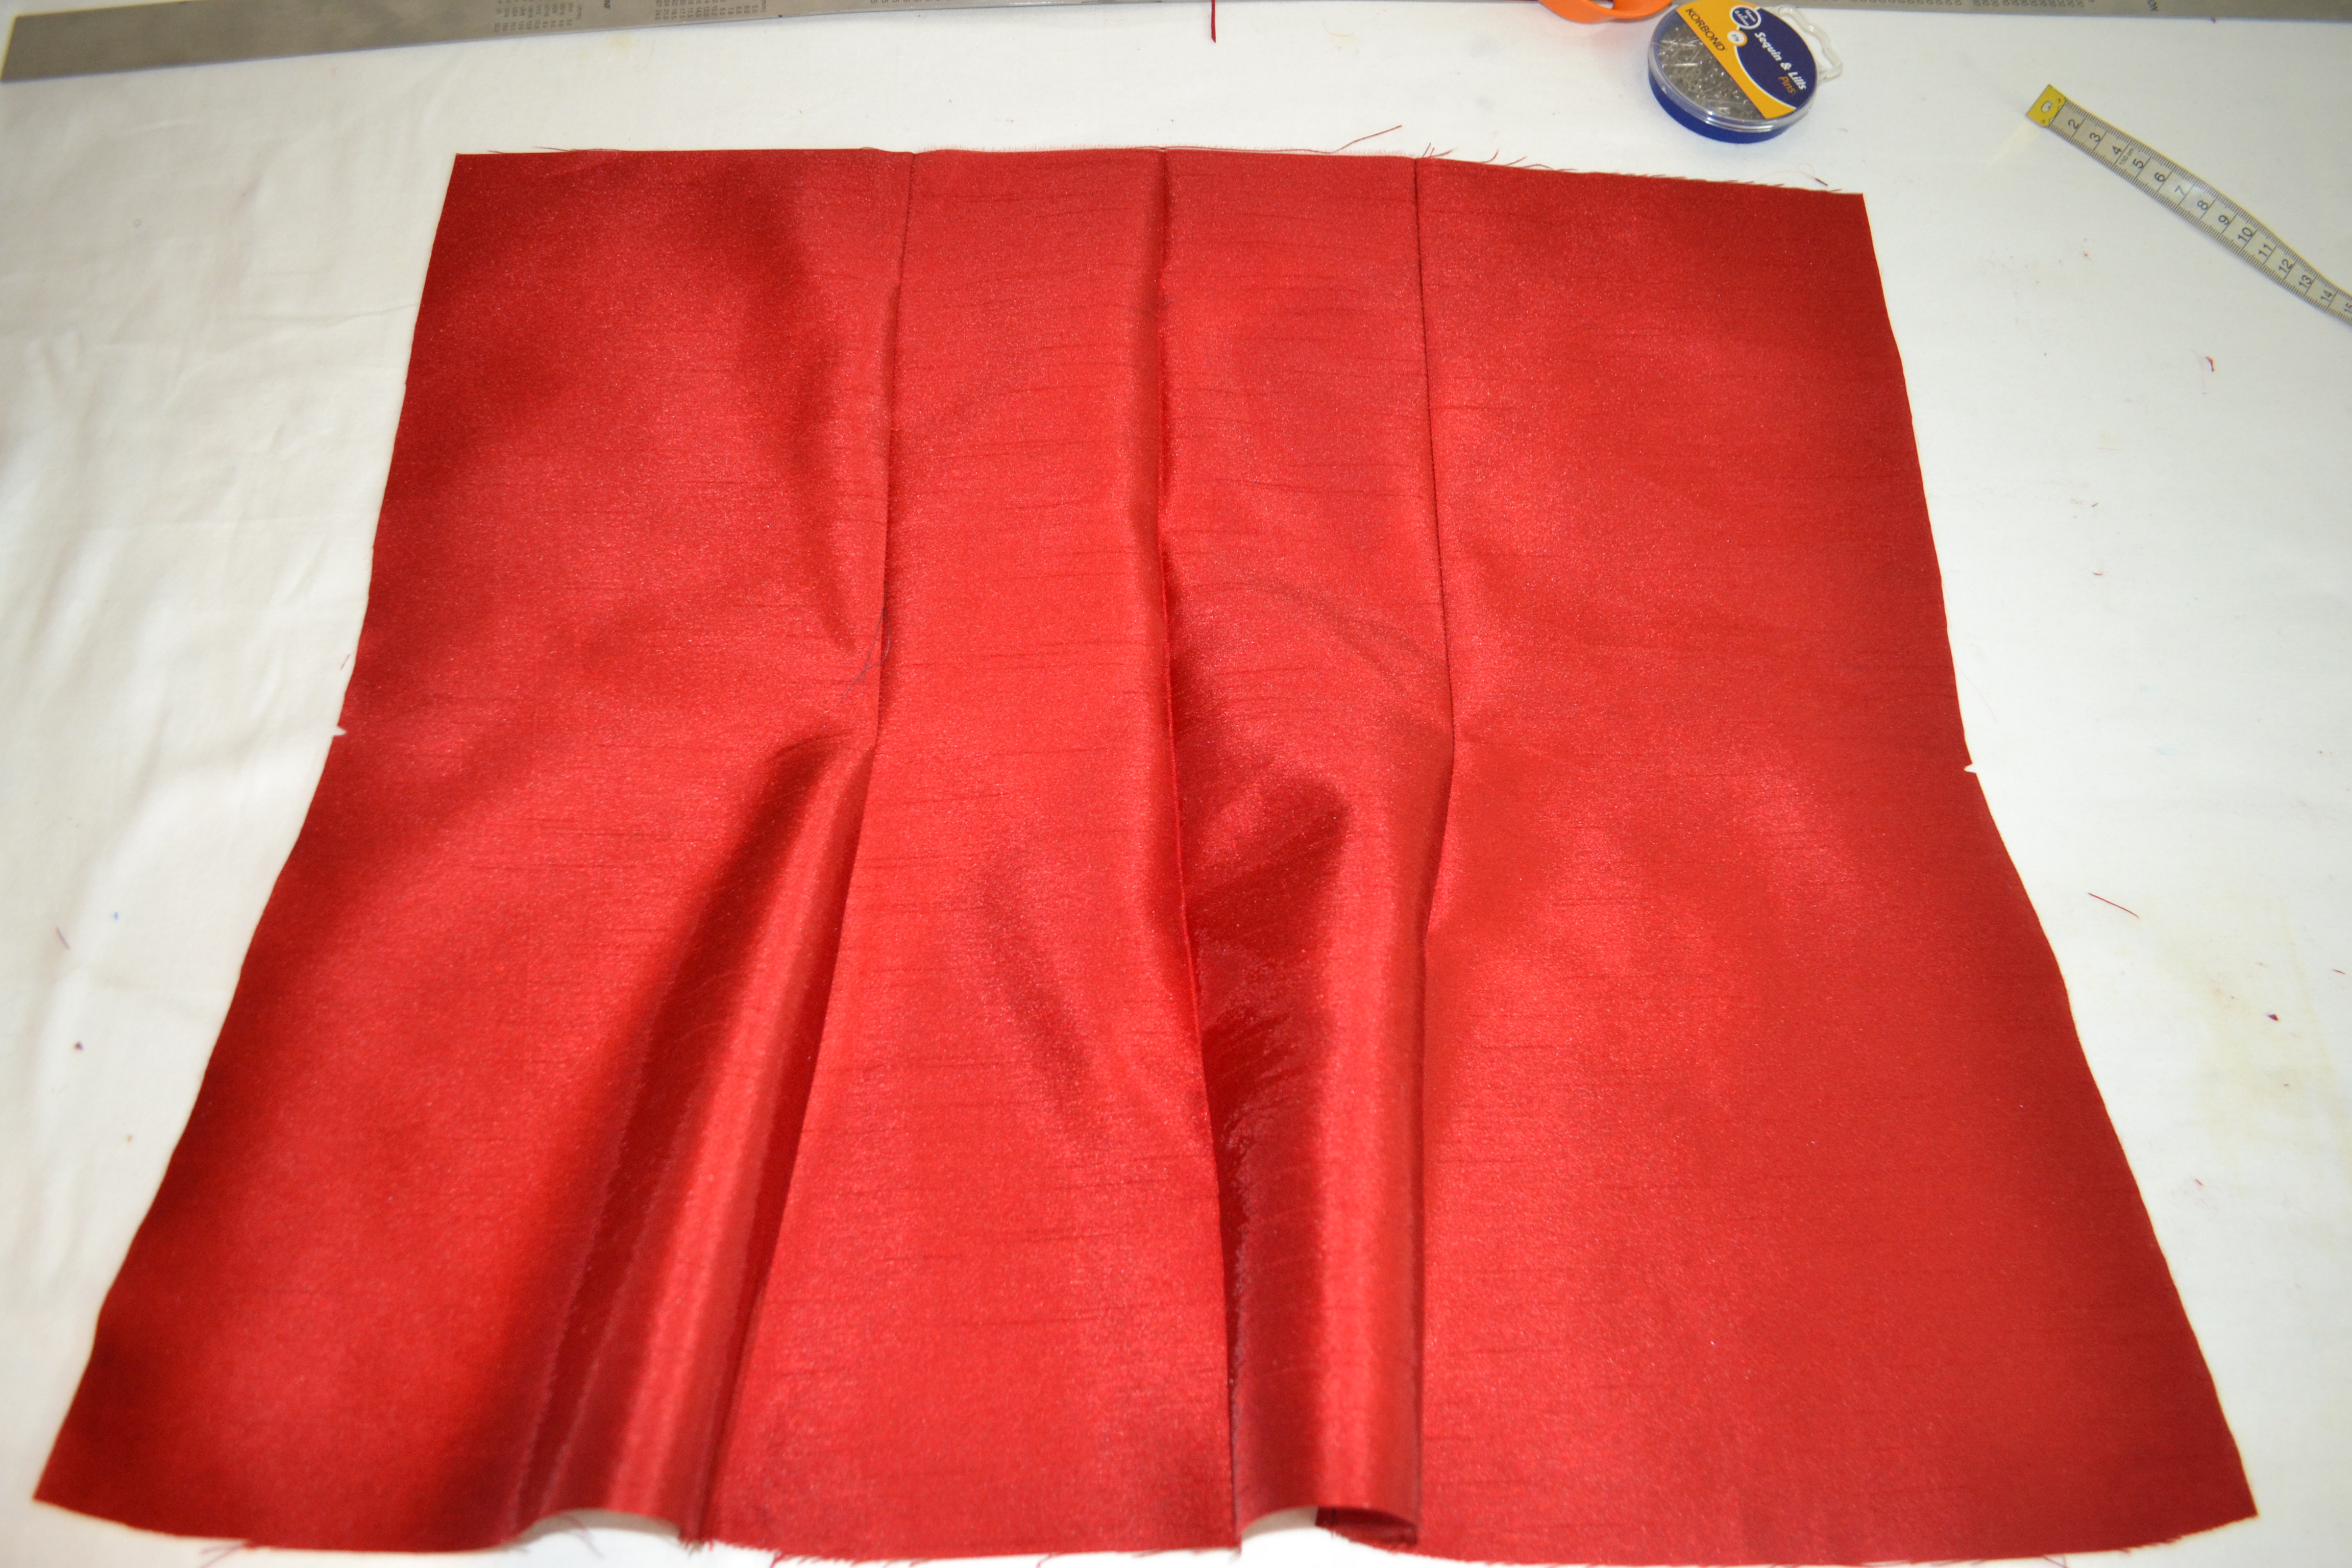
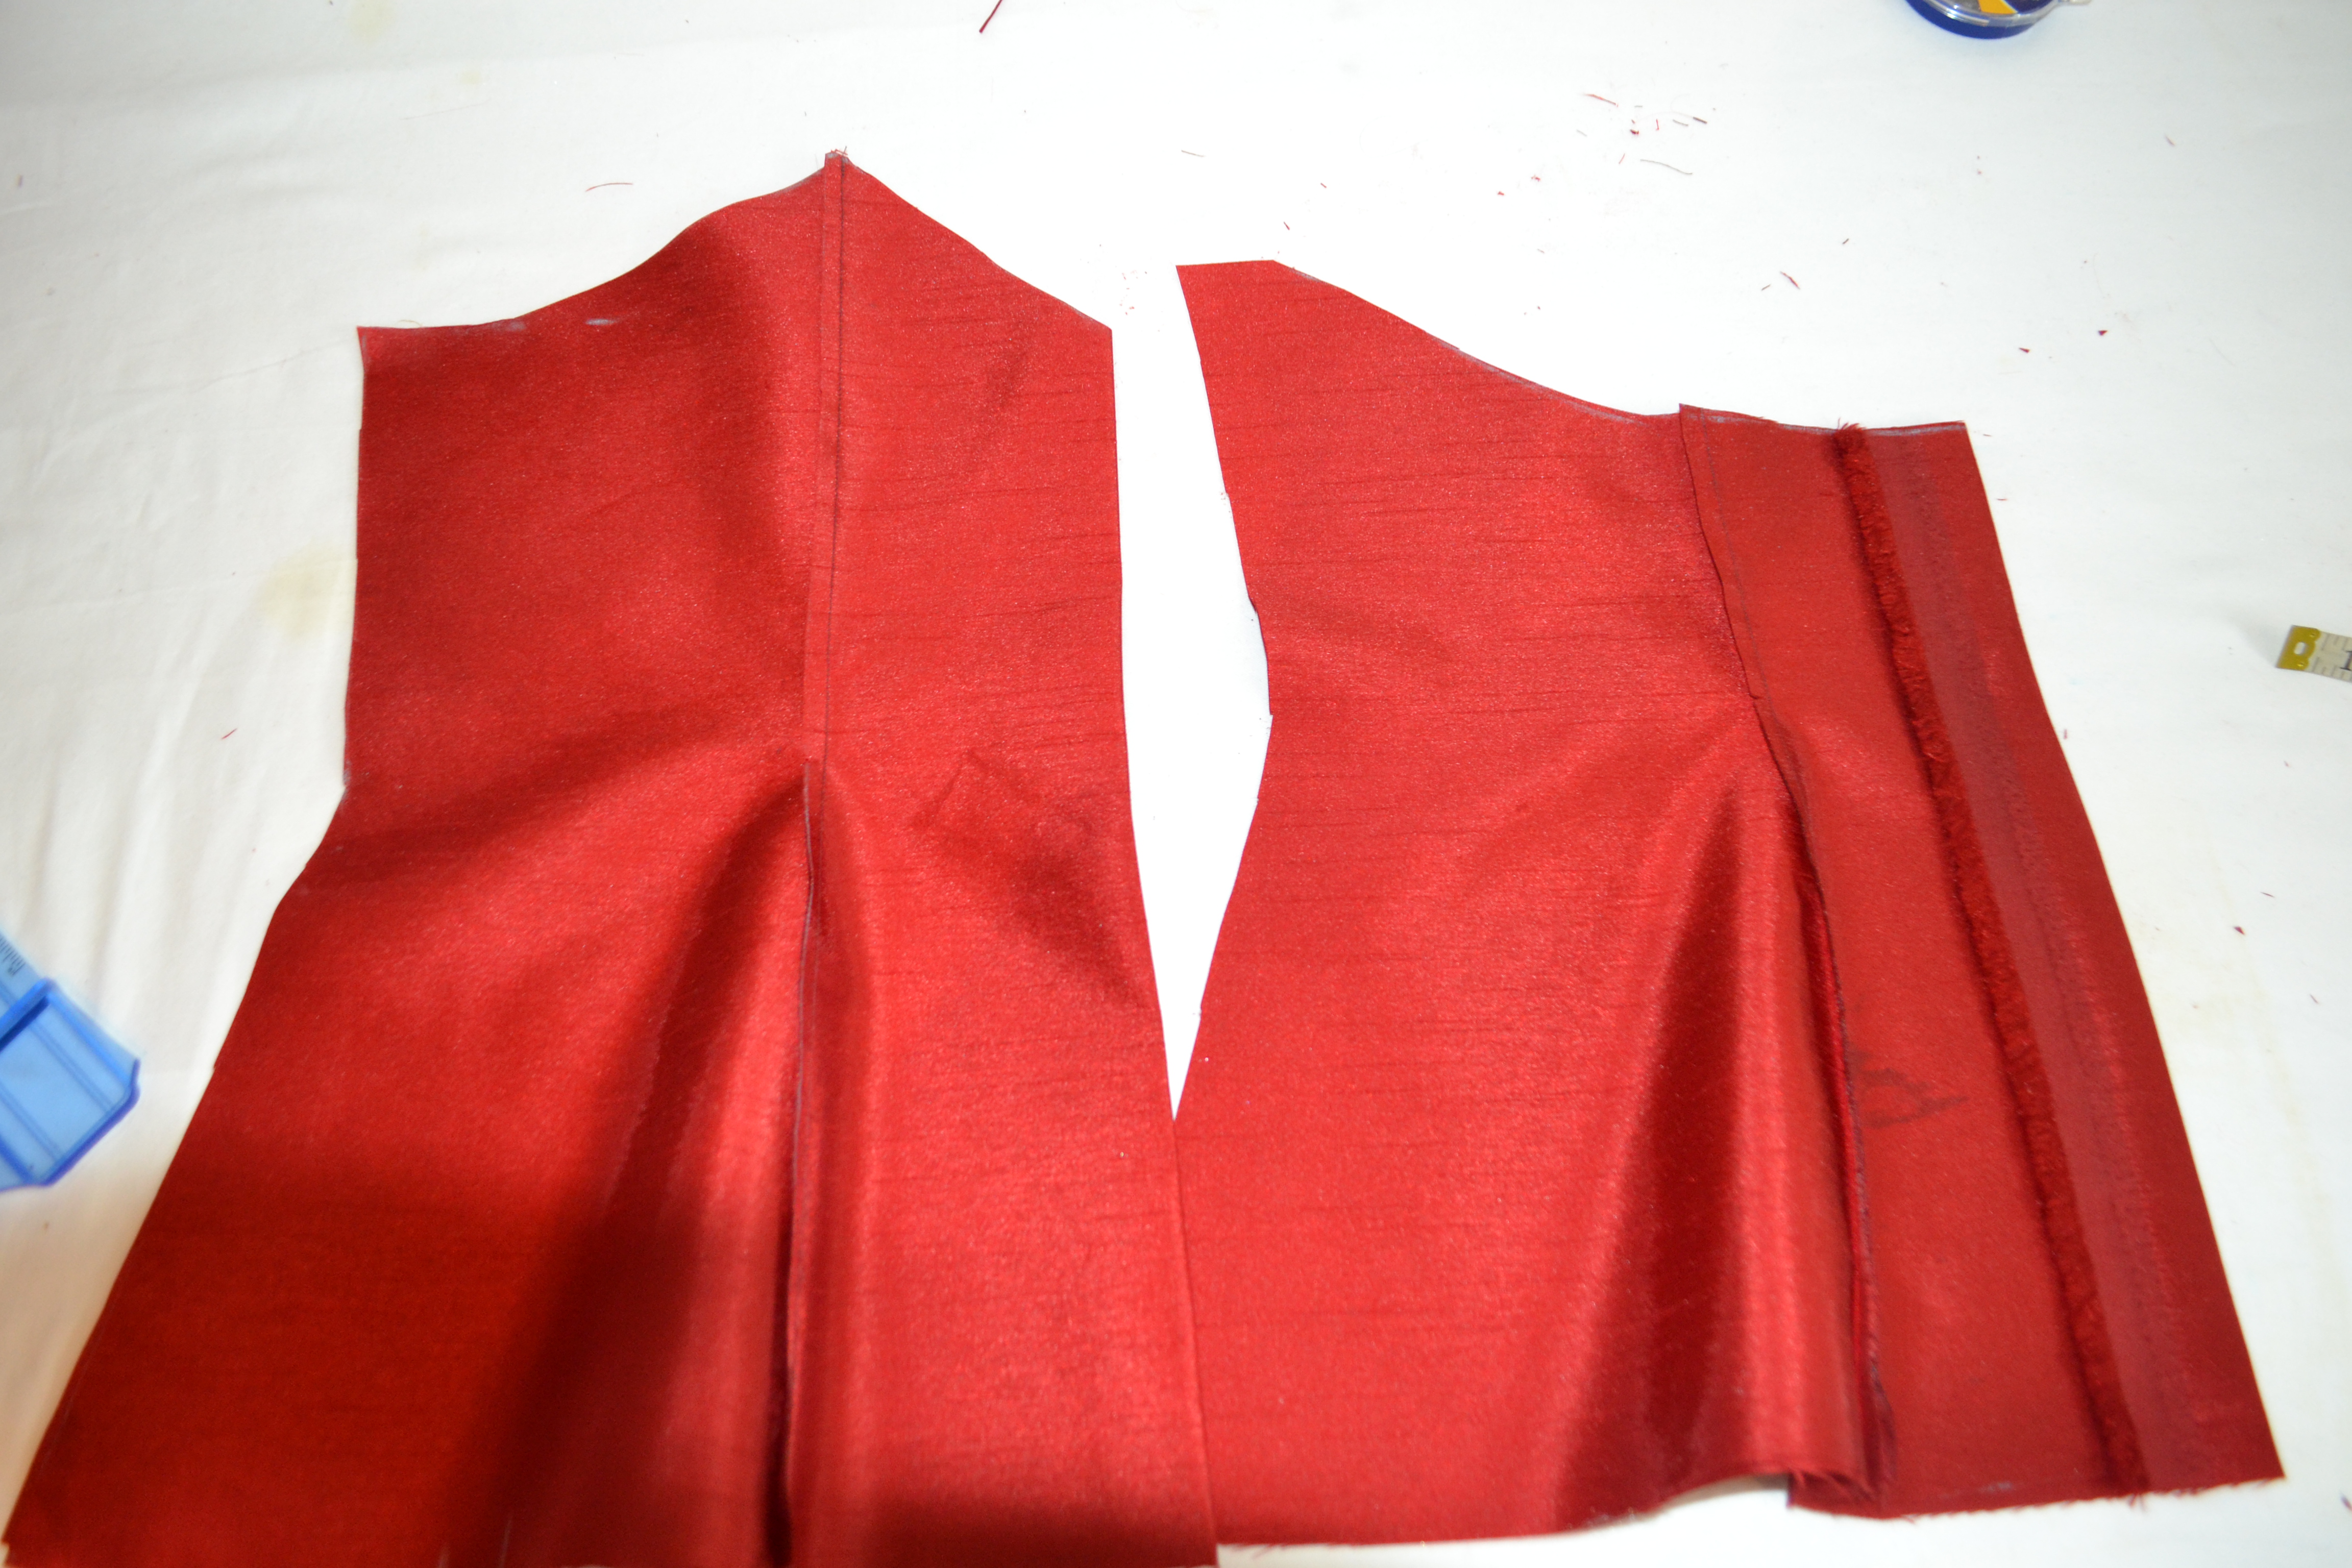
Now you have one front piece made up of 3 panels and 2 back seams made up of 4 panels. Back in their centre folds, lay your front piece on top of the back piece.

6. from the centre folds from the top seam, measure down 2-4″ and mark (this is for the sweetheart dip so make it as low or as high as you like). from that mark, draw a line that slopes up towards the joining panels at the top seam. From the top seam measure down the bust line (this is a reference mark) along this mark, divide your bust measurement by 4 + 2″ and mark, from the mark you just made draw a straight line 2″ long towards the centre fold. Connect the end of this line and the panel joining along the top seam with a diagonal line, it should now look like this along the top

DSC_0095

7. With the head of your tape lined up with your top seam, mark your underbust line and your waist line; these are reference marks (remember the maths you did earlier, this is what I am referring to)
8. You will now mark your horizontal measurements along these vertical marks you just made, always remember that you are measuring from the centre folds. Quarter your, underbust and waist measurements, add 2 inches to each of these and mark this along the corresponding reference mark, join these marks with straight lines and from the waist mark slant your line to the corner of the hem. Cut around your lines through all layer (but when cutting along the sweetheart line, only cut the front layer)

DSC_0097

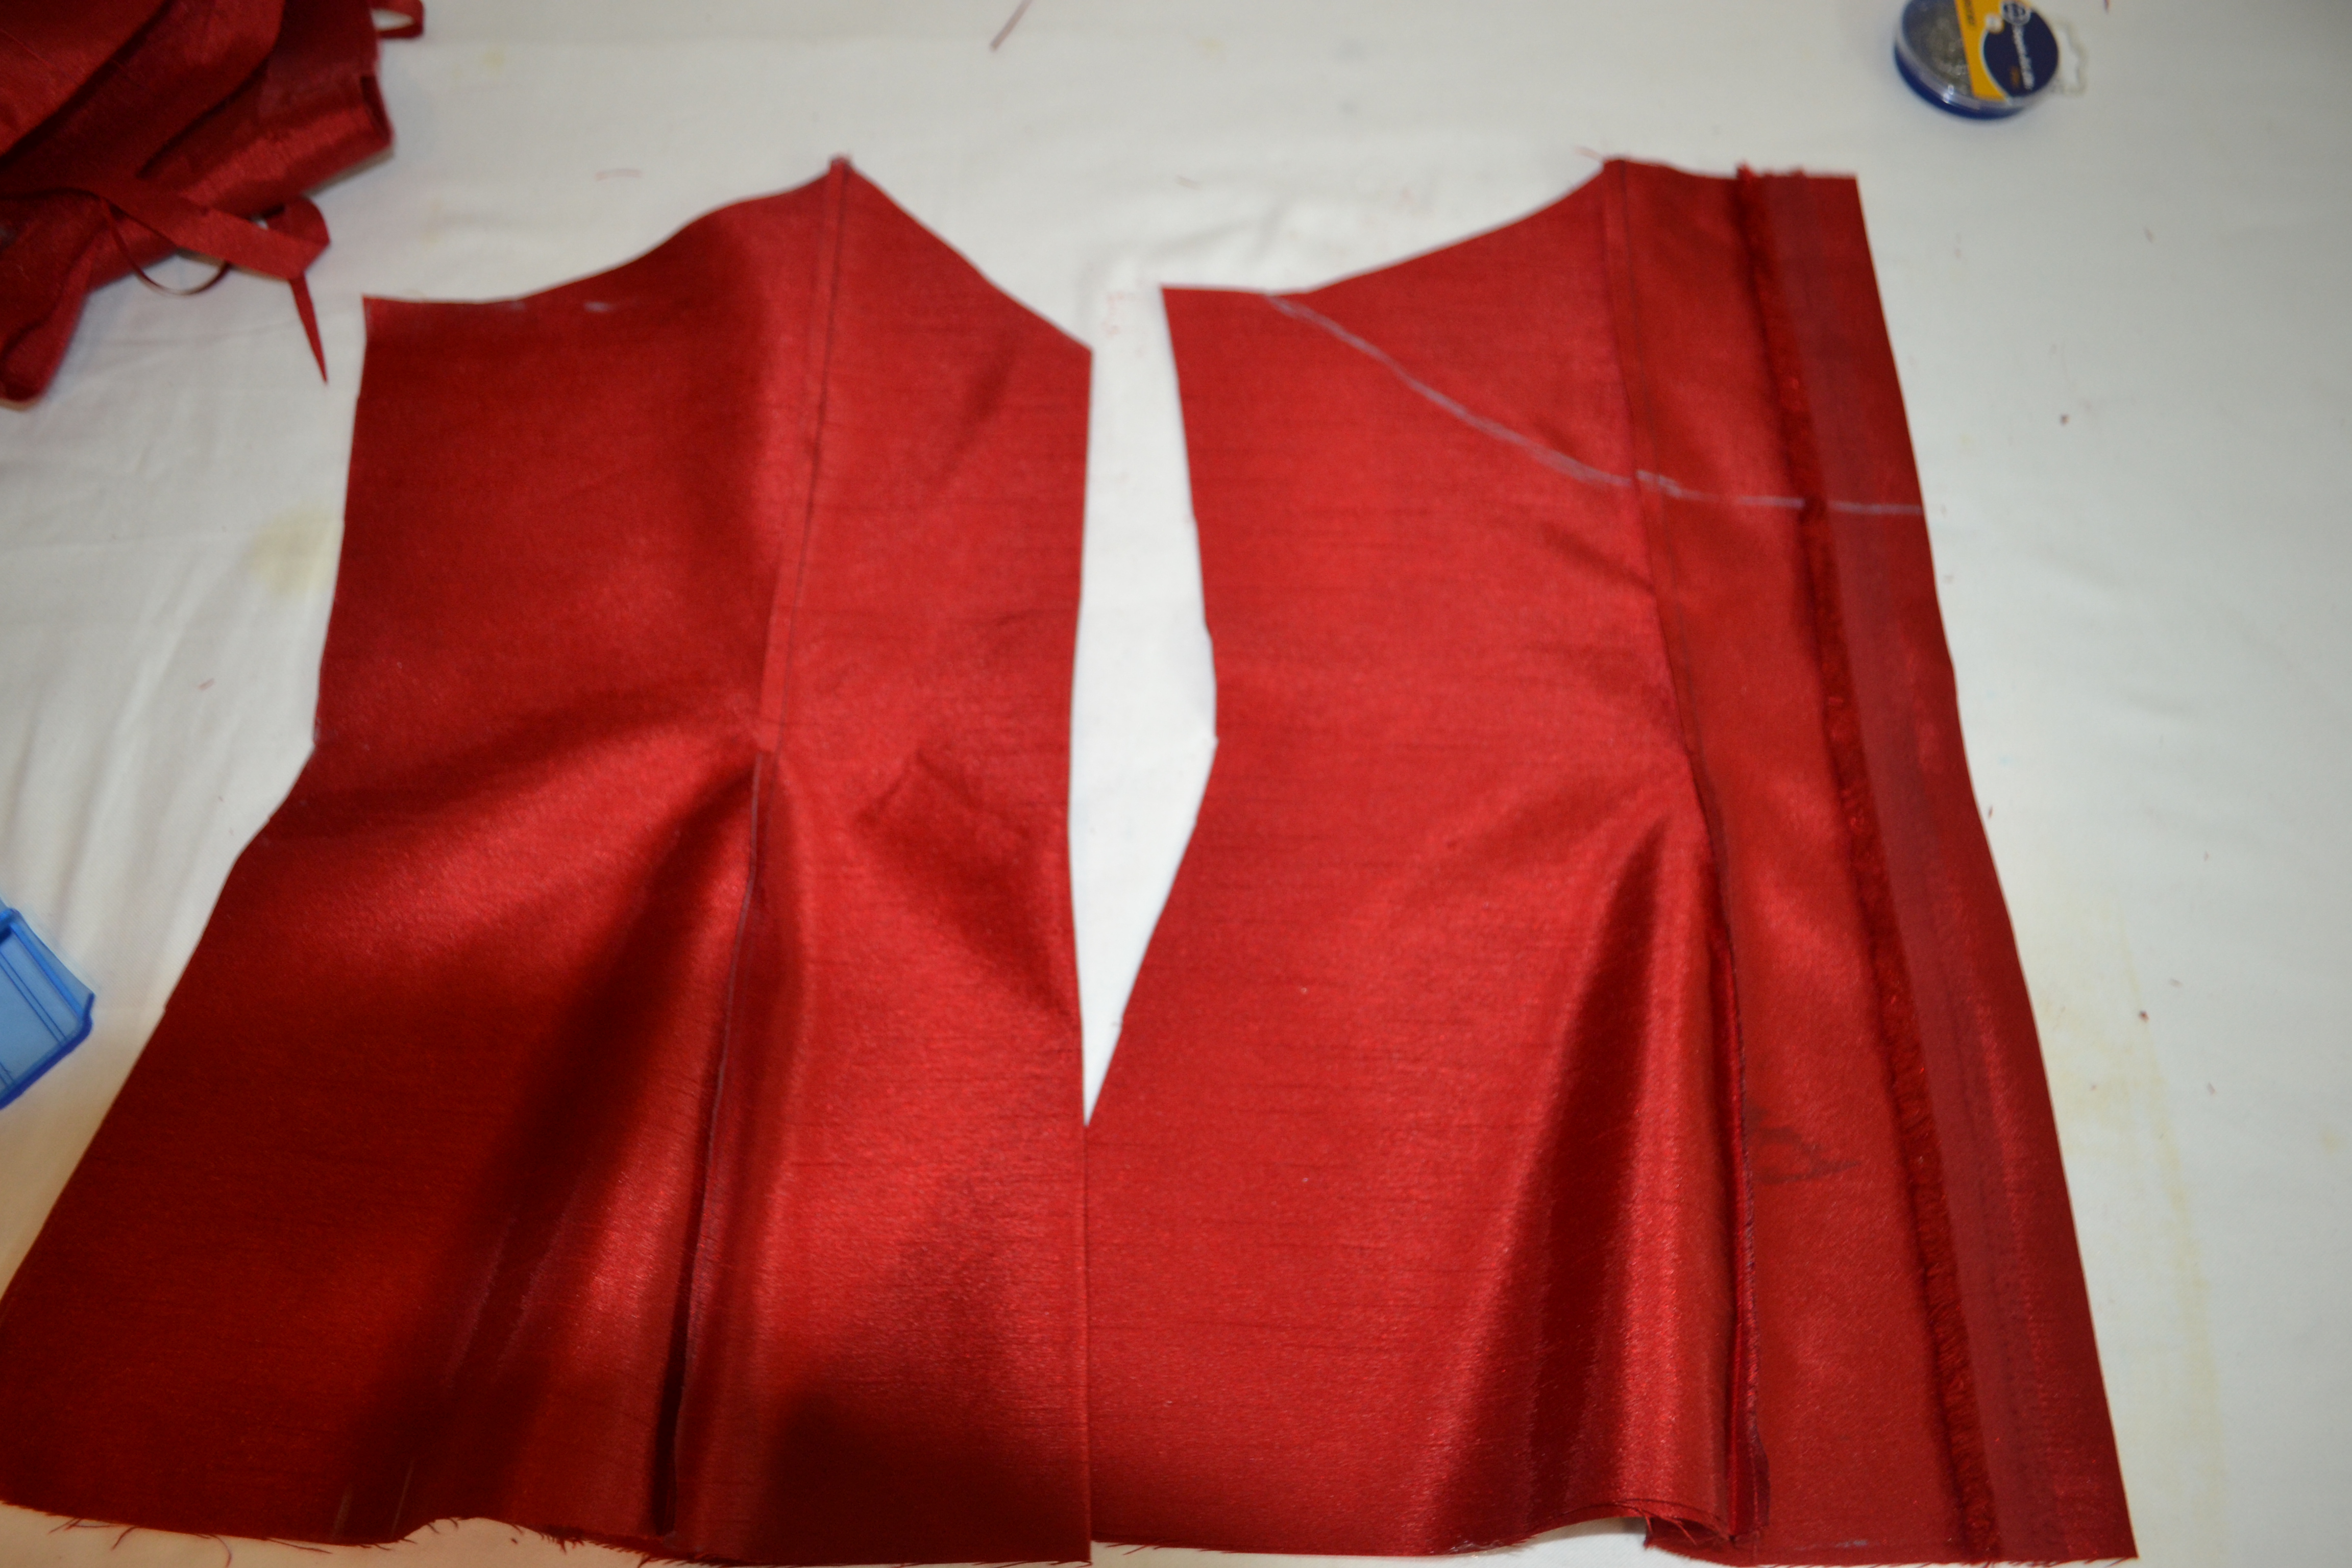
* notice I have drawn a different neckline for the back. I have made it much lower, you can also make it straight along the bustline in the back.

DSC_0098

9. Follow the darting steps in my Shirt Challenge Post (http://chinelobally.com/2014/02/26/the-shirt-challenge-my-giant-bow-boob-tube-tutorial/)

When you have sewn your darts. Place your pieces on fabric folded in the same was in the centre. Use your pieces as templates to create facings for your top.

DSC_0110

Interface your facing pieces and sew them to the matching section of your top.

DSC_0111

Turn your facings out, top stitch the seam excess to the facing and press

DSC_0115

Insert your zip into the back (I have use an invisible zip)

DSC_0118

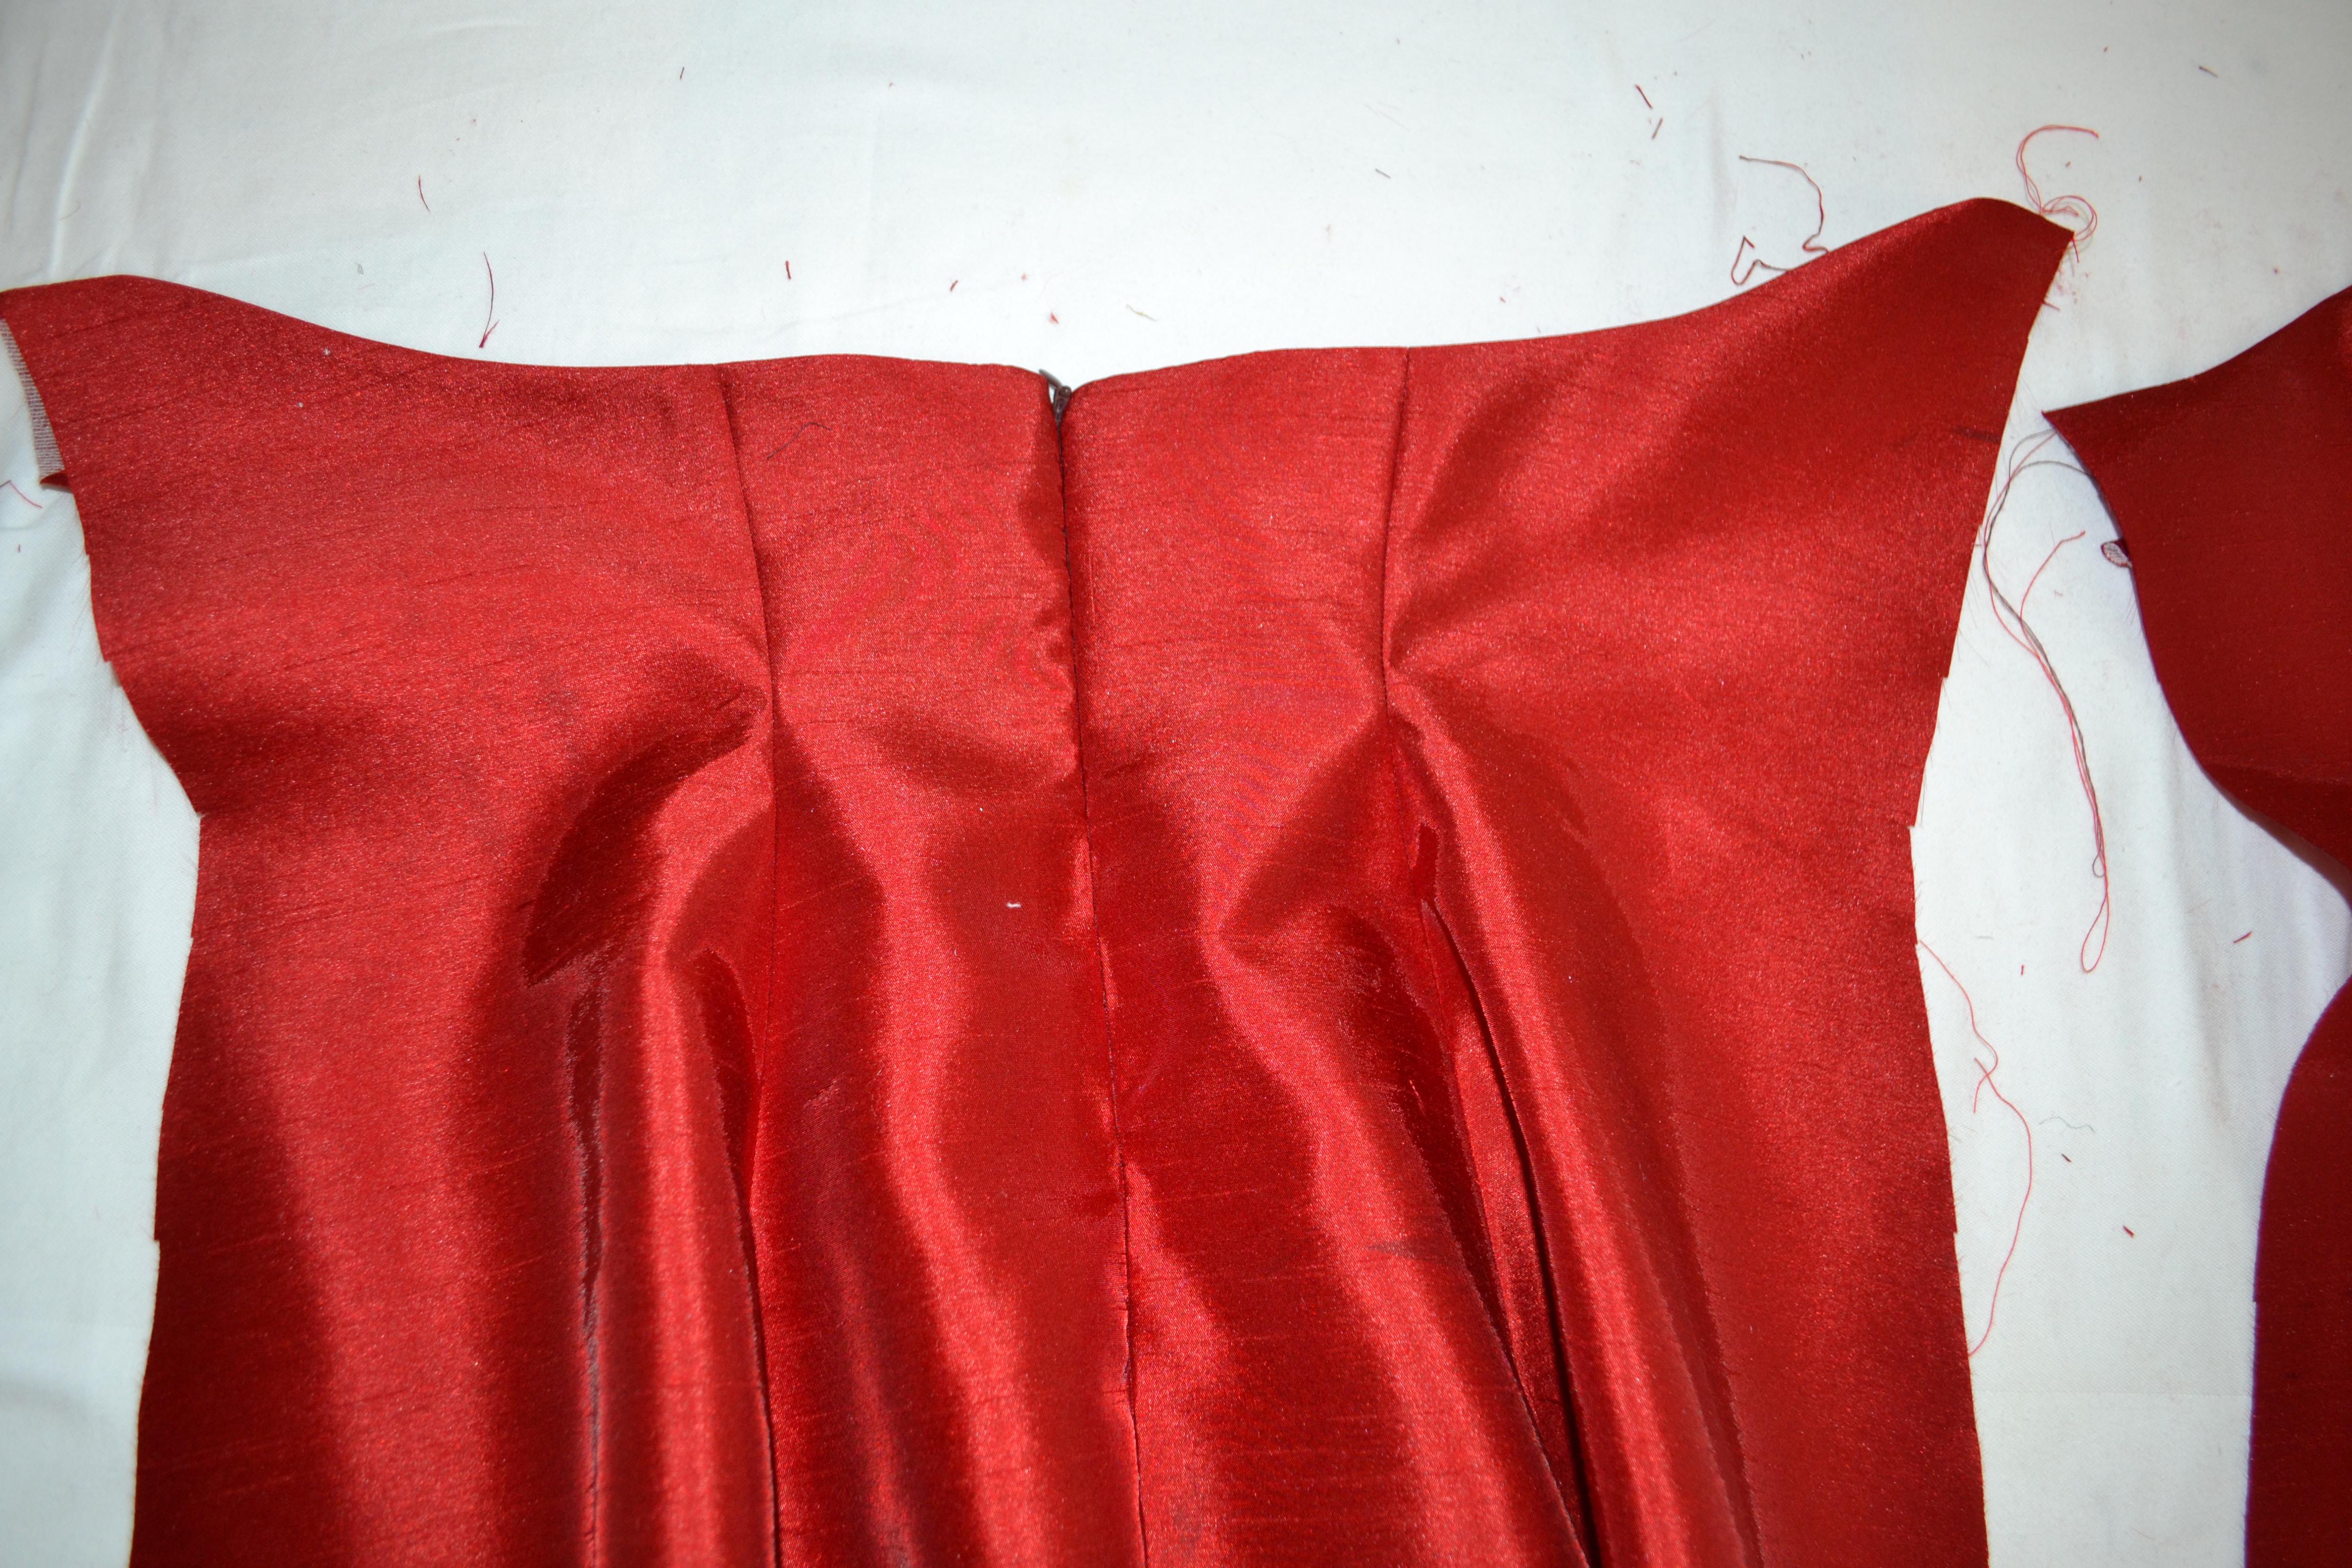
Lay the front of the top on top of the back matching the centre waist lines. you will now pin the sine seams ready for sewing, ensure that the pieces are completely flat at waist and bust level, this will mean that the side seams to match up but this is fine.

divide your bust measurement by 4 and mark this along the bust line from the centre of the top, like the picture below. so this for the underbust and waist also

DSC_0121

Join your marks with a line, this will be the line you sew along.

DSC_0122

Copy this seam allowance to the other side and sew your top together

DSC_0124

Here is my finished product!!! I have embellished the neckline with some trimmings from scraps of black guipure lace I had left over from another project

As always I would really love to see your attempt at this. Please send me any questions you may have and I will endeavour to reply as soon as I can

lots of love

Chinelo

xxx

The Shirt Challenge: My Giant Bow Boob-Tube Tutorial

Hey everyone.

Hope your all as excited about the sewing bee as I am. A massive thank you to you all for the kind words and support, it has been great encouragement for me and I just wanna give you all massive hugs. On a downer, it was sad to see simon go this week, he was such a great character and its really encouraging to see a young man  interested in sewing; I say that like I’m miles older than him when I’m only a year older, but you know what I mean.

This week my favourite challenge was the 2 shirt challenge, and I am going to show you how to make the top I made with the big draping bow shoulder detail. This one:

IMG_2122

I have been eyeing one of my husband’s old(ish) shirts for a while now so as he isn’t around this has presented me with the perfect opportunity to pinch it, so I have done just that, and check this, it has a stripy pattern (O the joys of re-living sewing bee days).

You will need:IMG_2036

A large men’s shirt (preferably stolen from your spouse or partner, dads and brothers also count)

Fuse-able interfacing

Bias binding

Ribbon

Ruler

Pen/chalk/something to mark your fabric with

Scissors

Steam Iron

Sewing machine

Needle and tread.

Your measurements ( http://www.youtube.com/watch?v=dkywf2kGthg&feature=youtu.be )

The very first thing to do is iron the shirt so that it is easy to work with. Fold the back and front of the shirt in half so that the side seams meet in the middle and press. like this,

IMG_2039


bring the centre front fold (where the buttons are) over so that it meets with the centre back fold

IMG_2040


Place the 25″ mark on your tape at the bottom centre edge of the shirt, and mark the shirt a quarter of an inch above your “shoulder to upper bust” measurement. Mine “shoulder to upperbust measurement is 6.75″ so I have marked my shirt at 6.5”.  Then put a mark 1″ below that mark (so for mine the is a mark at 6.5″ and 7.5″; this mark is where the top will dip at the chest so you can make yours as low as you want but bear in mind that you want a button right at the top of the centre front or else it just won’t work)

IMG_2043


from the mark you just made for your “shoulder to upperbust” measure 4.5″ inwards and mark; as belowIMG_2047


Now place the 25″ mark on your tape at the bottom of the centre again and mark your “shoulder to waist ” measurement (mine is 16.5″),  and at 9″ mark on your shirt. These marks are your waist line and your bust line

IMG_2049 IMG_2048


Divide your waist and bust measurements into 4 and mark them along the waist and bust line accordingly, (add 3″ to the divided waist measurement and 2″ to the divided bust measurement before marking; so it will be “bust/4+2” and “waist/4+3”) This is sewing so at some point you will need to do some maths 😦 sorry guys)

IMG_2051 IMG_2053


Divide your hip measurement by 4 + 2″ and mark along the bottom of the shirt.

IMG_2054


Now use a ruler to join the tree marks you just made

IMG_2055


From the bustline mark, measure 2″ in towards the centre and mark

IMG_2057


Using a ruler or freehand if you like, draw lines that join all the marks along the top. It should look like this: Note the button right at the top.

IMG_2058 IMG_2060


Cut this out and separate the front and back of the top.

IMG_2061 IMG_2062


Take the back piece and fold down the top of it to create a straight edge, press and cut along the crease line, like this:

IMG_2063 IMG_2064


Now measure 4.5″ from the centre back in towards the side seams, mark and fold the top length ways on this mark as pictured below: press to create definite crease lines

IMG_2065 IMG_2066

Do he same with the front piece. These creases you just ironed in will create your dart lines.

Unfold the front and back pieces and invert the crease lines that are facing outwards, you do this because you will be drawing in your darts on the inside of the top.

Take your back piece, working on the dart lines, mark 1″ inwards along the waist line. from that mark measure 6″ up and down, slanting towards the fold. Use a ruler to join these marks. like this:

IMG_2078 IMG_2079 IMG_2080IMG_2081


Now take your front pieces and do the same, but on the top corners of the dart lines measure 1″ in from the fold and slant a line 3.5″ long down towards the fold:

IMG_2069 IMG_2070


Again use a ruler and join the marks so that it looks like this:

IMG_2082


now sew along the darts you have drawn for the front and back pieces, you will find that the front piece needs rounding off at the top of the dart, simply fold the front piece in half, take your scissors and round off the top like this:

IMG_2084 IMG_2085

Give the front and back darts a good press. Use some bias binding of your choice to finish off the top edges, lay the back and front pieces on top of each other, right sides facing, line up the side seams and pin to secure together.

Working from the centre, mark a quarter of your bust measurement along the bust line, do the same for the waist and hips:

IMG_2090 IMG_2091


Using a ruler Join these marks. It should look like this:

IMG_2093


Flip the shirt round and repeat. Sew along the lines you created in both side seams. Test your top for fit and make any necessary adjustments by letting out or taking in the side seams (always equal amounts on both sides).

Once you are happy with the fit attach a ribbon over one shoulder from the highest point of the front to the back (do this whilst wearing the top so that it fits over your shoulder perfectly

IMG_2119 IMG_2120


For the bow I decided to use another fabric because my husband would notice if 2 of his shirts went missing.

The size of the bow is completely up to you. It is made using 4 identical strips of fabric and 2 strips of fuseable interfacing.

fuse the interfacing to the fabric’s wrong side  for 2 of the pieces. Lay these pieces over the other 2 strips of fabric right sides facing. like this:

IMG_2110 then sew sown the longer side seams:IMG_2111

Turn the strips out and press, then finish off the top and bottom edge with some bias binding or by folding in 0.5″ and top stitching along the edge:

IMG_2112        IMG_2113


lay the strips of side by side, off centre. Pinch the middle of the strips to create the bow. You can either use a sewing machine to secure this or hand stitch:

IMG_2114 IMG_2115


Wrap a bit of the ribbon around the centre of the bow and secure with a couple of hand stitches

IMG_2117


Drape the bow on the ribbon over the shoulder and secure with a few discrete hand stitches, so that it holds the shape you want it to.

Have fun creating your own, oooh and try some contrasting fabrics and trimmings (for the Tamaras out there).

Please send me pictures of your own project and place your comments in the form below.

Have a lovely day and God bless xxxx